Some info on the units can be found
here.
The foam rings have seen better days and are coming loose.
I got some replacement woofer surrounds from
repairyourspeakers.com.
The instructions can be found
here.
I found
this video helpful as well.
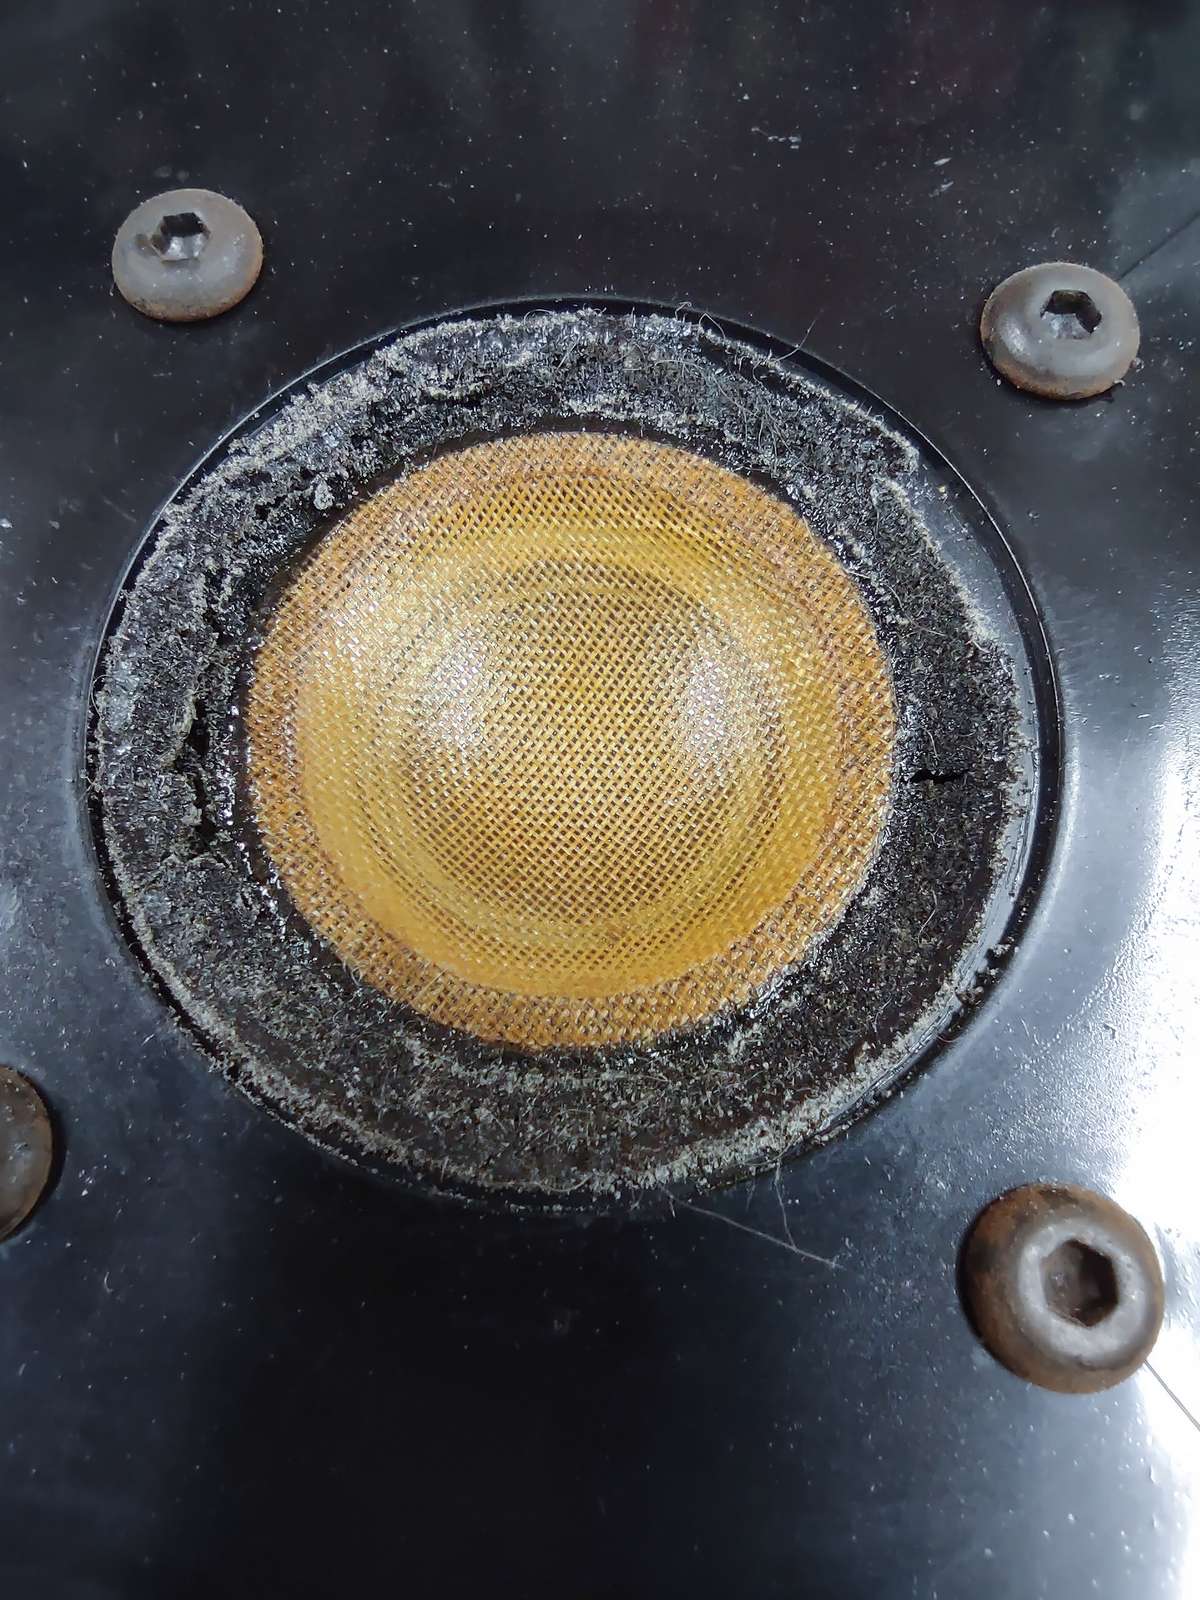
The sorry state of the foam.
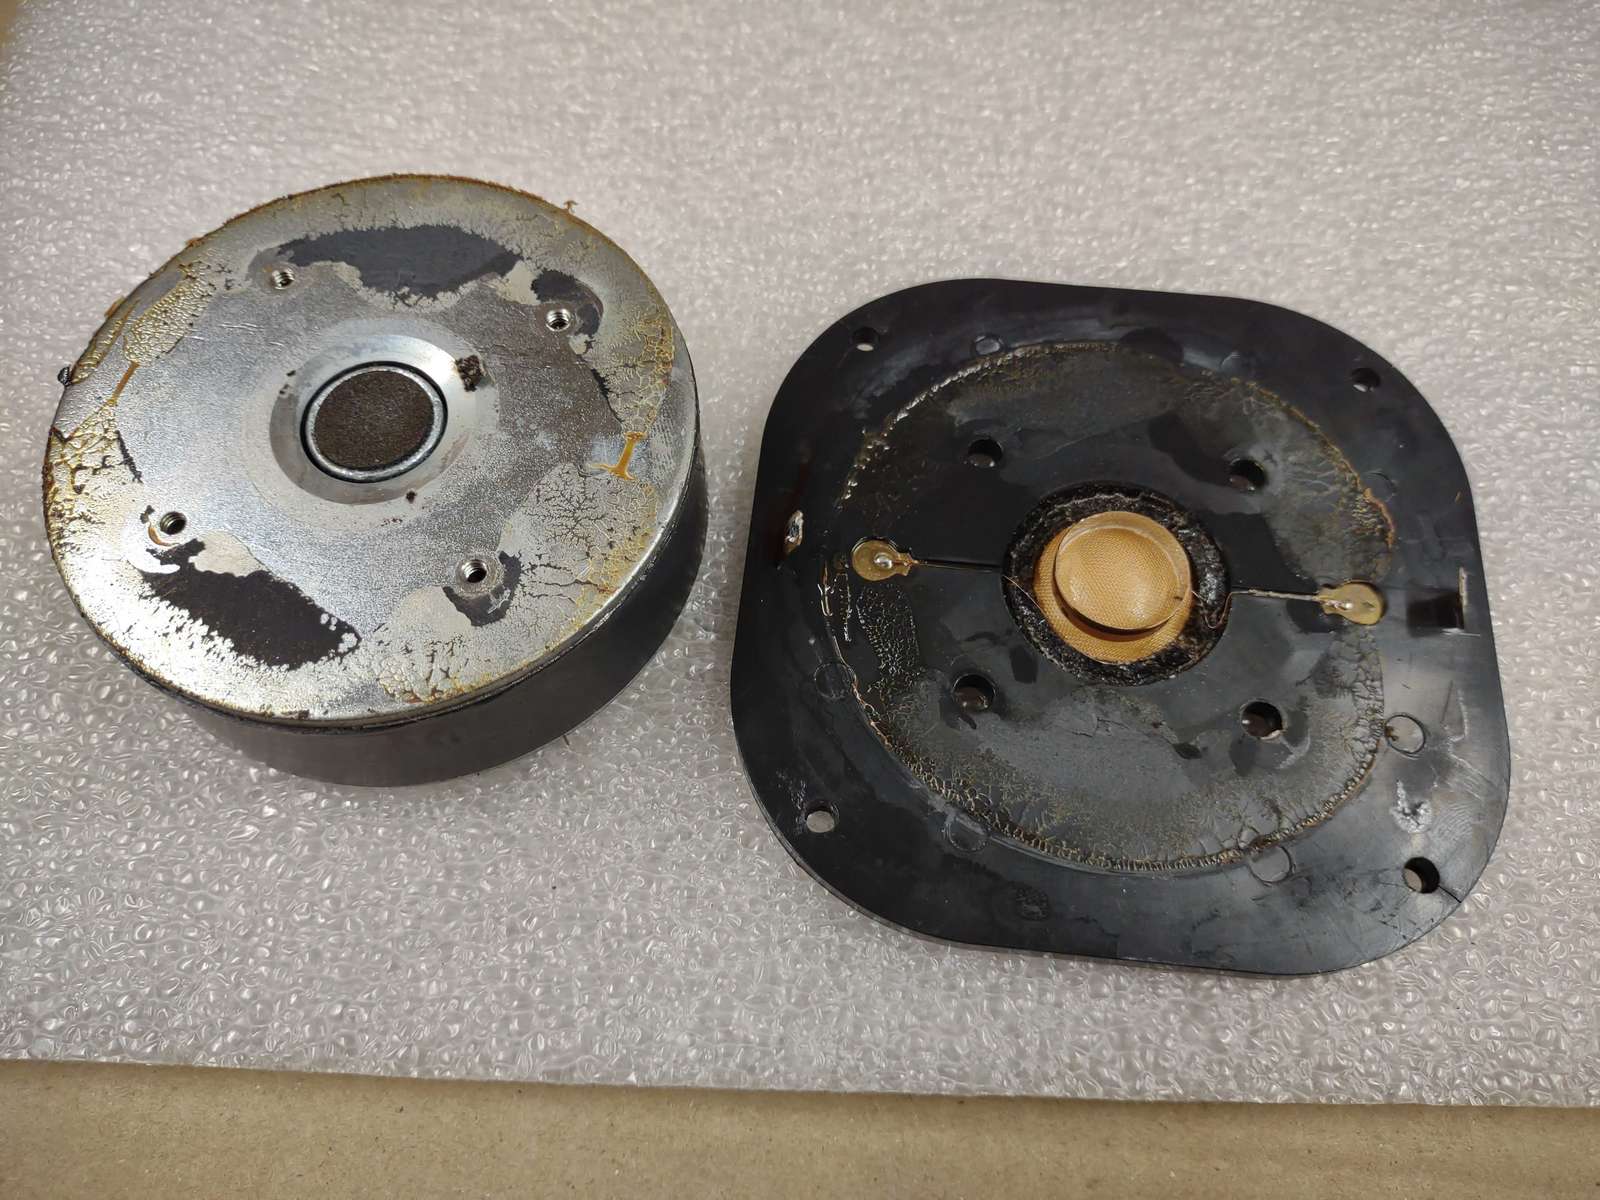
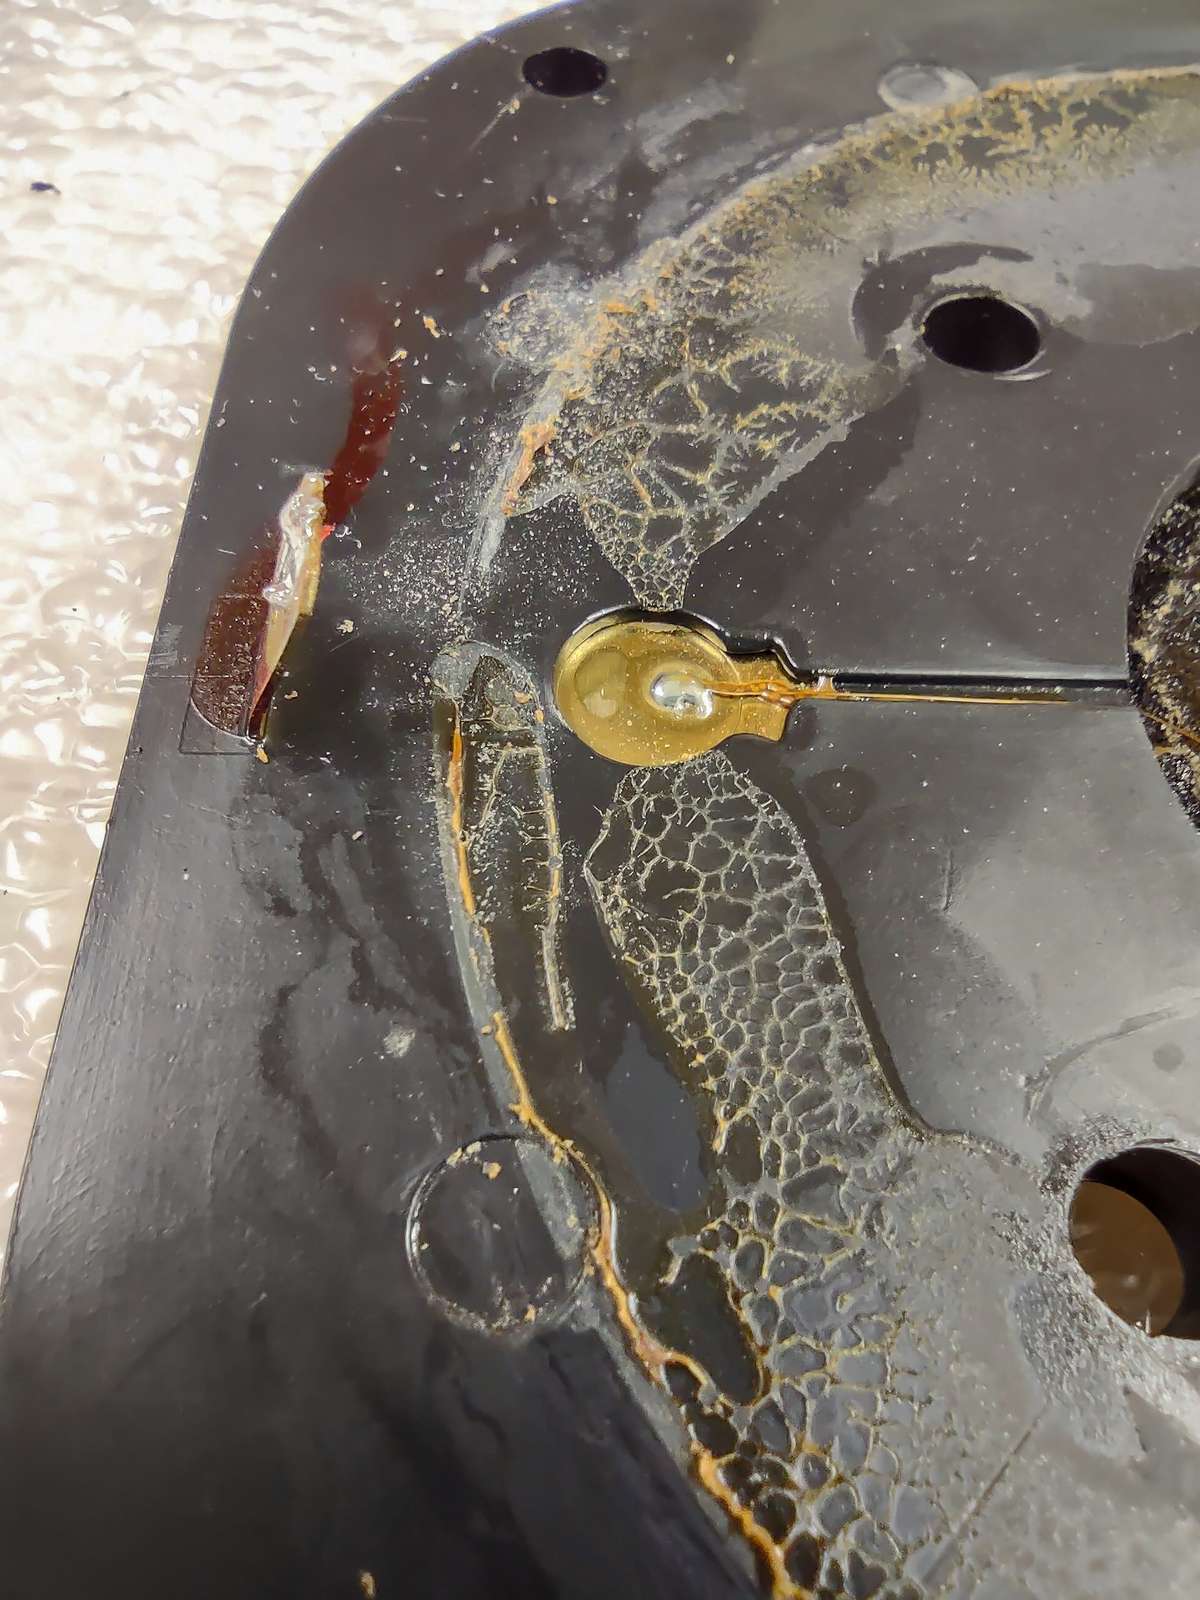
The front was glued on pretty well. A bit too well to my liking... Prying it off made me quite nervous because it took a lot of force; you can see some the plastic was so stuck to the magnet that some pieces broke off the front. I could just image the front breaking into pieces, which would have been a very sad moment... But that didn't happen thankfully.
I ended up using IPA to loosen the glue a bit, and using a wood chisel to pry off the magnet from the front. I know, chisels should not be used like that, but it worked like a charm. It's wider than a screwdriver (which is used in the videos) so it spreads the load a lot better, reducing the chance of cracking the front.
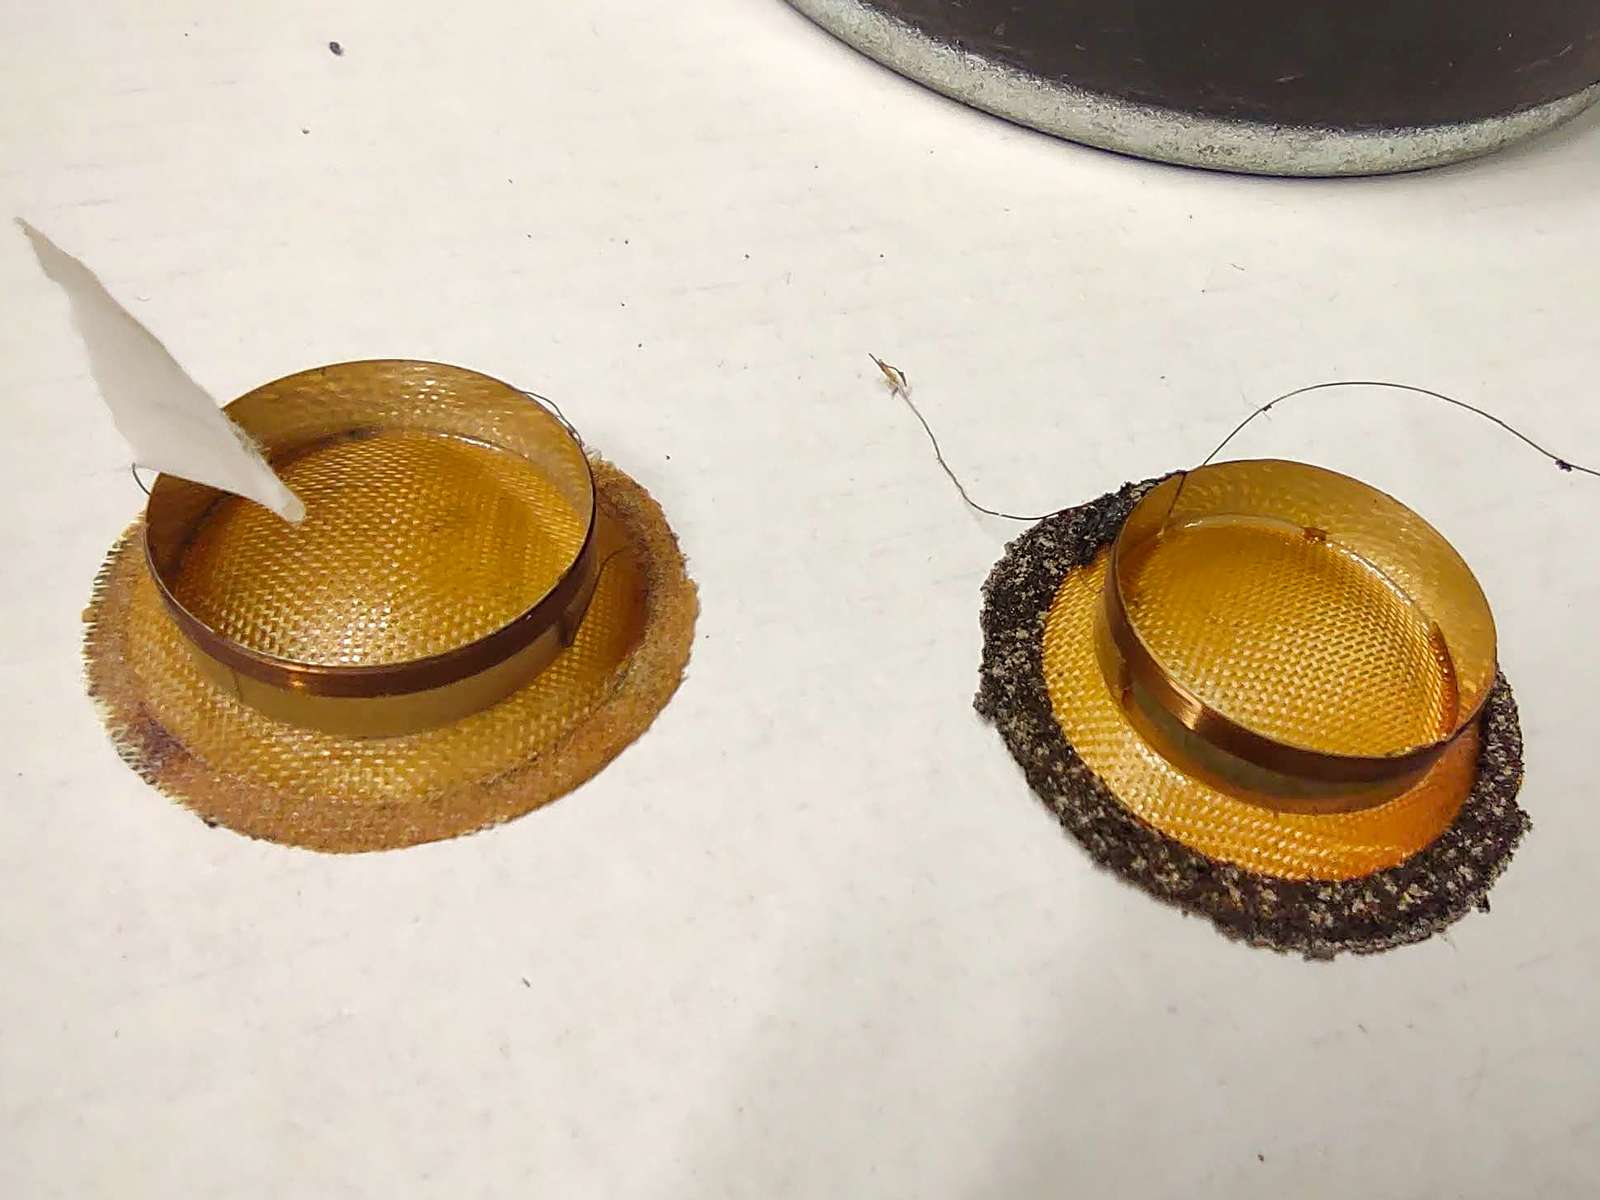
Halfway cleaning the cones. Just IPA, cotton tips and patience.
I used some tape to mark the positive wires. Not ideal, but a sharpie didn't mark it very well, and I didn't want to put anything sticky on it like nail polish.
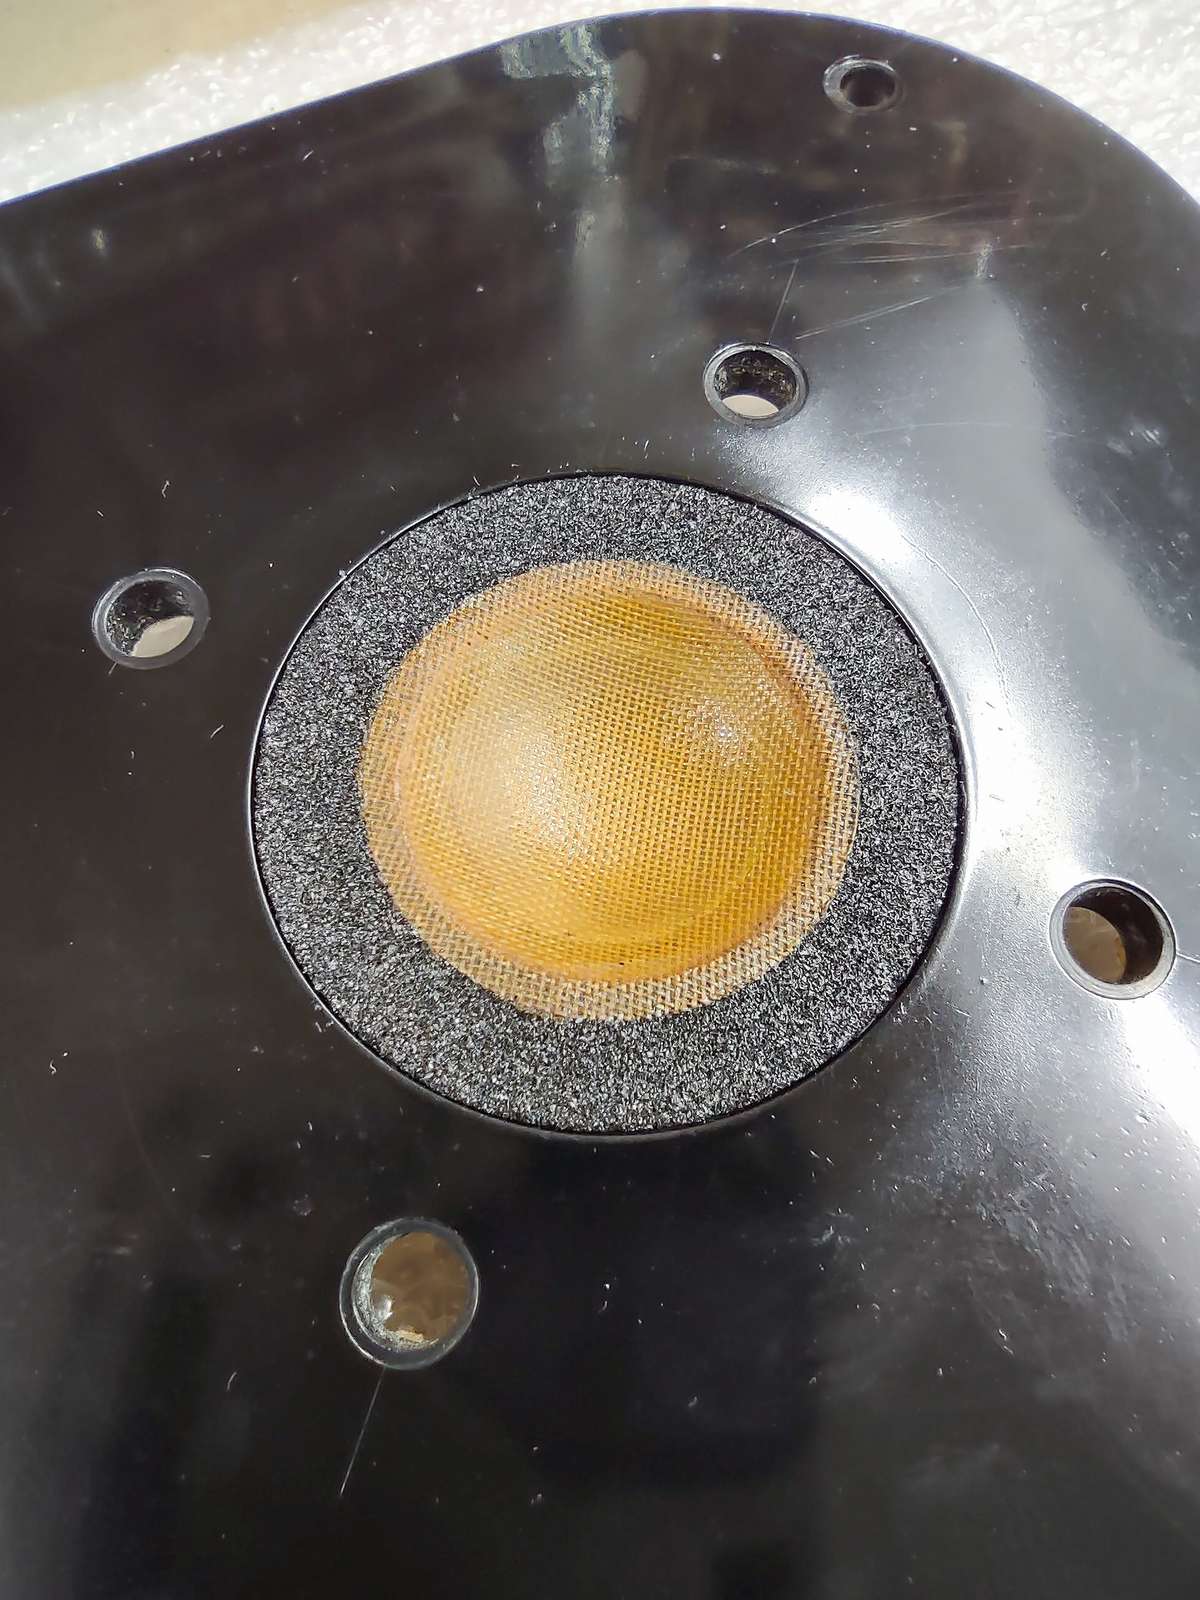
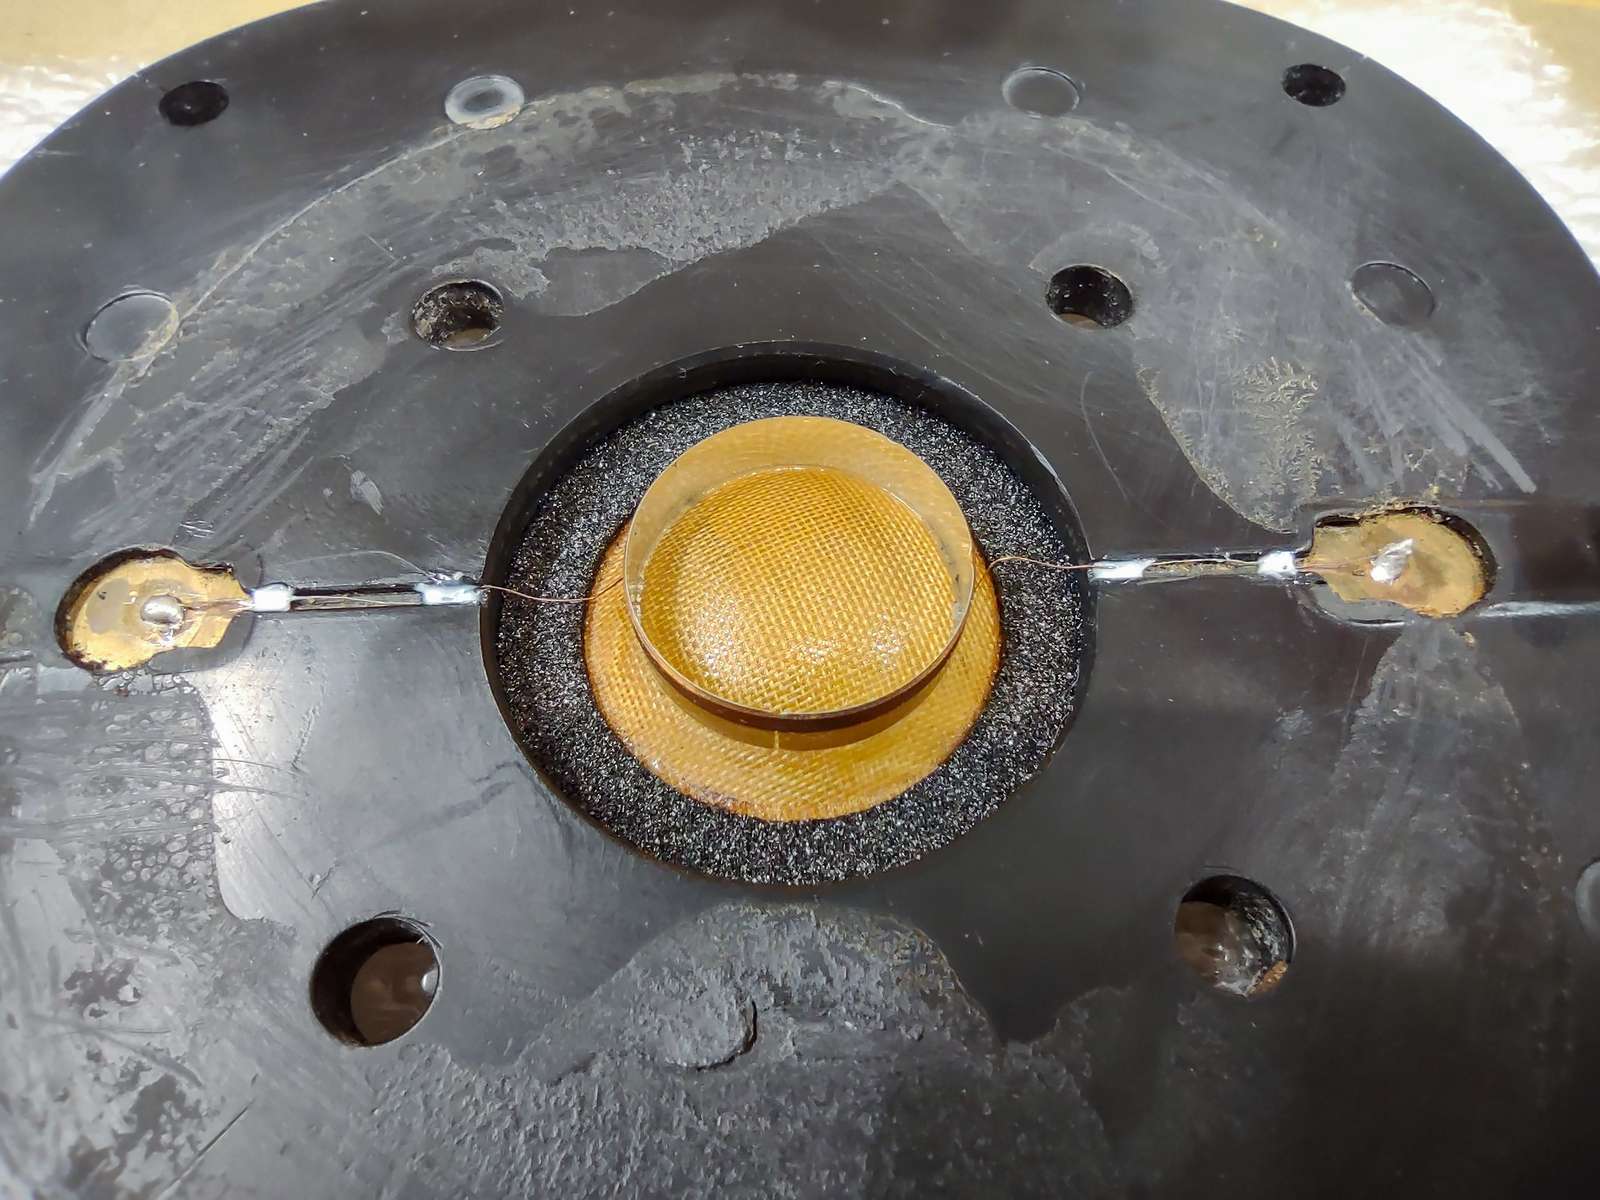
Foam and wiring all installed and ready for final assembly.
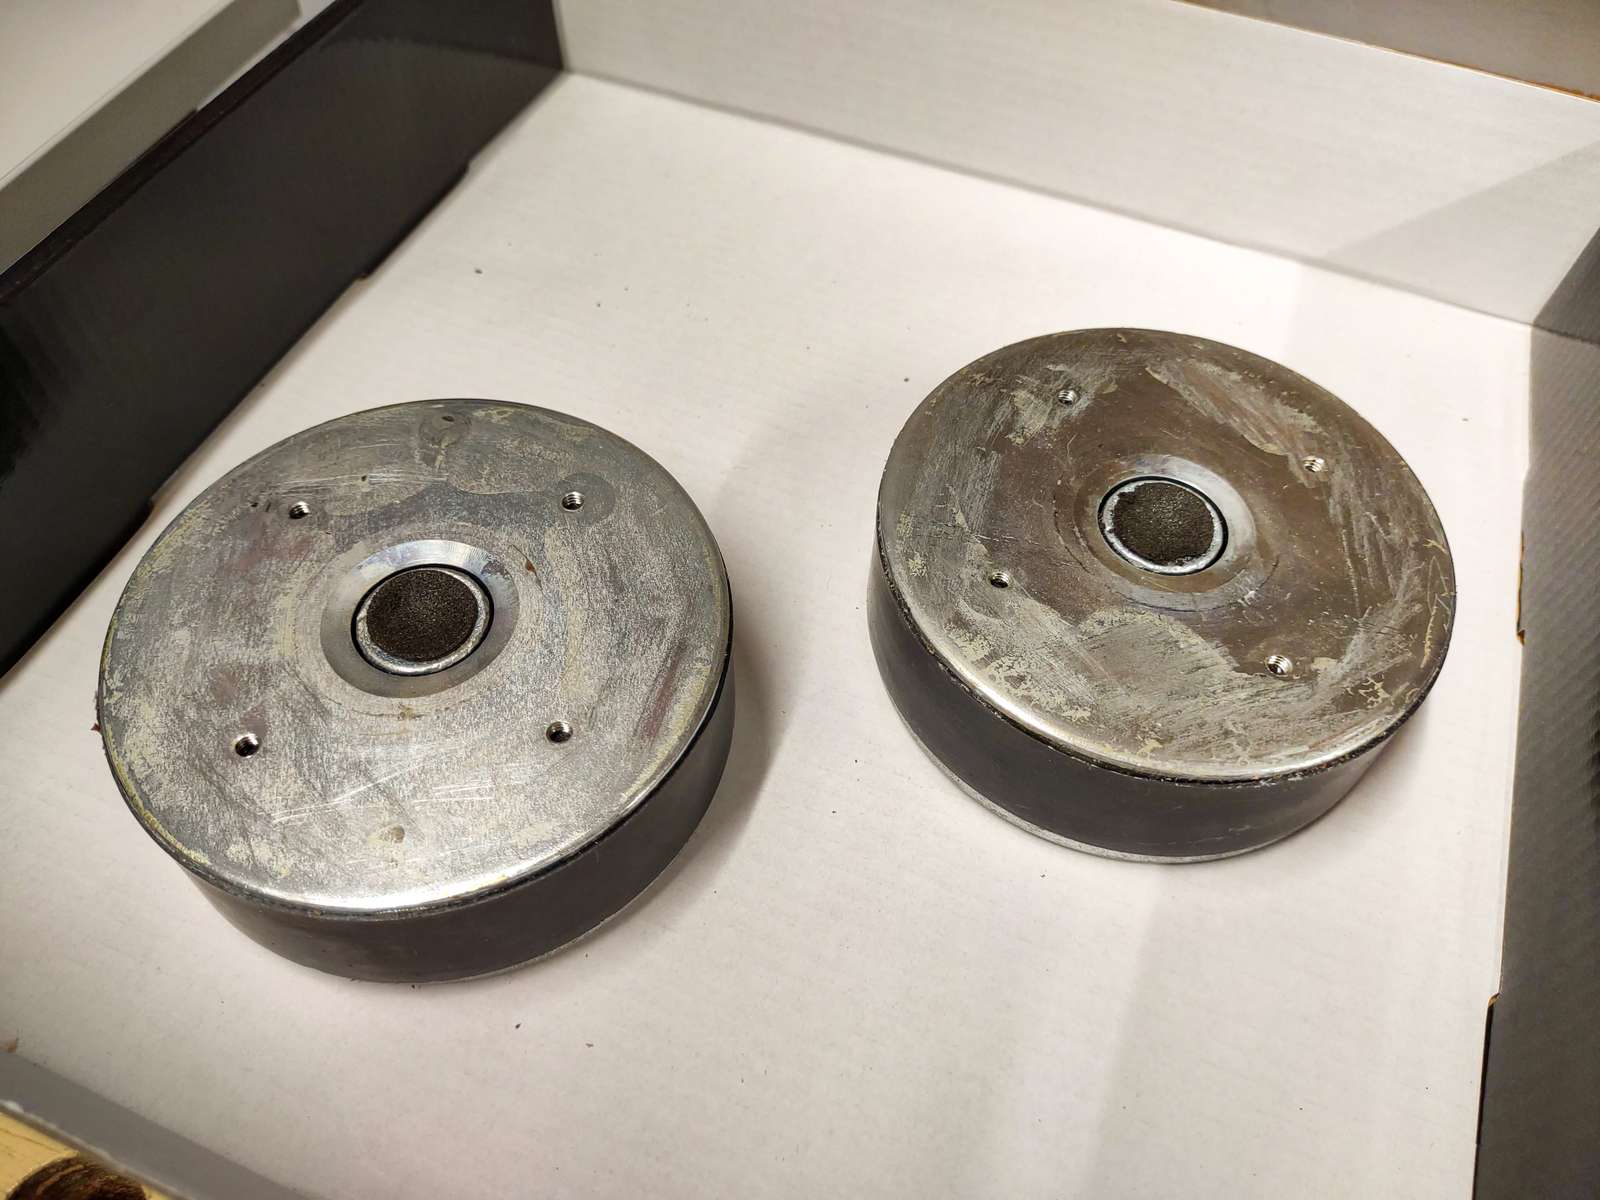
I scraped off most of the glue and plastic from the magents, thinking that leaving it there would prevent a good fit when putting everything back together.
As a result, I needed to put some tape on the magnet as a spacer, to give the cone enough room to move....
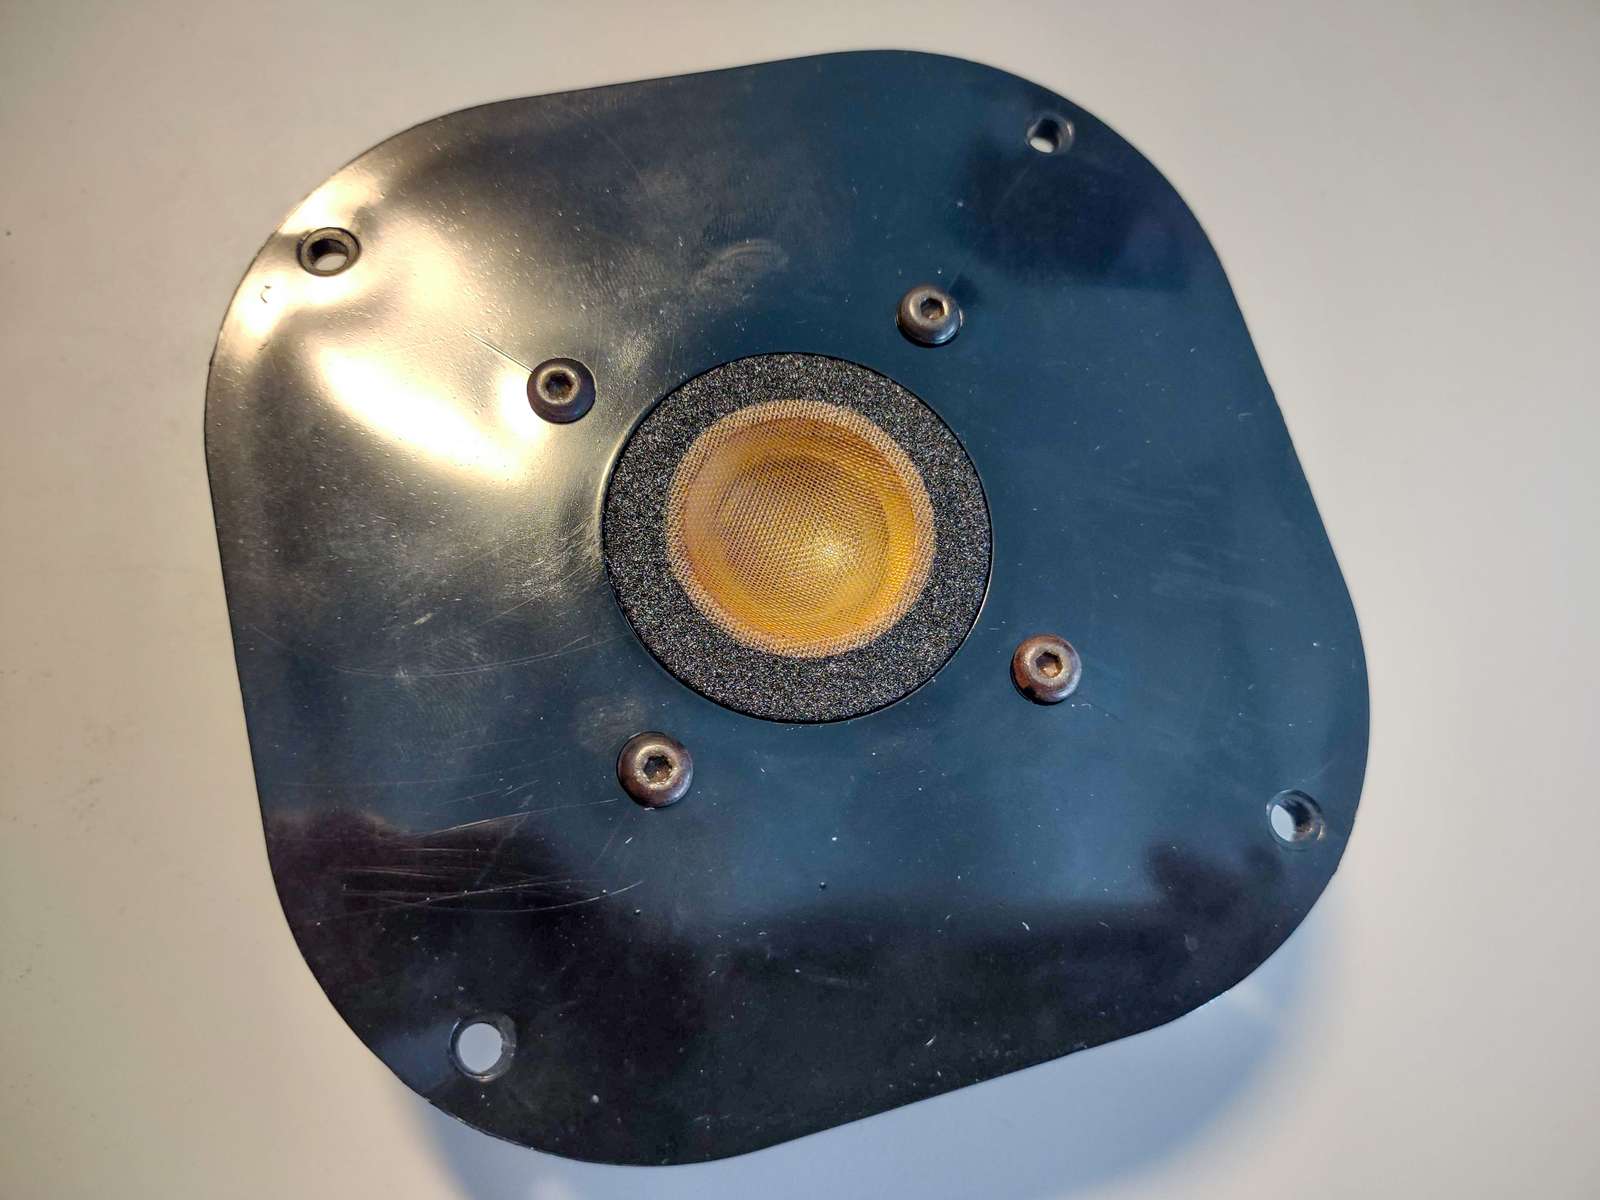
I'm glad it's done, this was quite nerve-racking :-) All the parts are small and fragile, it's far too easy to ruin the while thing with one little silly mistake. But that didn't happen thankfully.
I used the alignment method shown in the second video, using a 1000 Hz tone to find the sweet spot. I have no idea how I could have done this by just listening for scratching noises when moving the cone by hand. Moving the cone even a tiny tiny fraction changes the sound, so no way I would have gotten that done properly without the test tone.
Remove screws
Lose front - with care, use IPA and a wood chisel
De-solder cables
Remove glue over cables
Mark one (positive) side, both front and cable
Remove cone and foam
Clean front - use API
Remove foam from cone - use API
Make glue brush smaller
Add glue to outer edge of front
Add glue to outer edge of foam
Glue foam and front together
Add glue to inner (front) edge of foam
Add glue to outer (back) edge of cone
Glue cone and front together
Note polarity and cable position
Push foam from inside onto cone
Solder cables
Secure cables with glue (and tape)
Put a layer of tape on magnet (as a spacer)
Place front on magnet
Lightly tighten screws crosswise
Centre cone with test sound (1000 Hz)
Properly tighten screws crosswise