Click on the images to enlarge.
2019-01-19
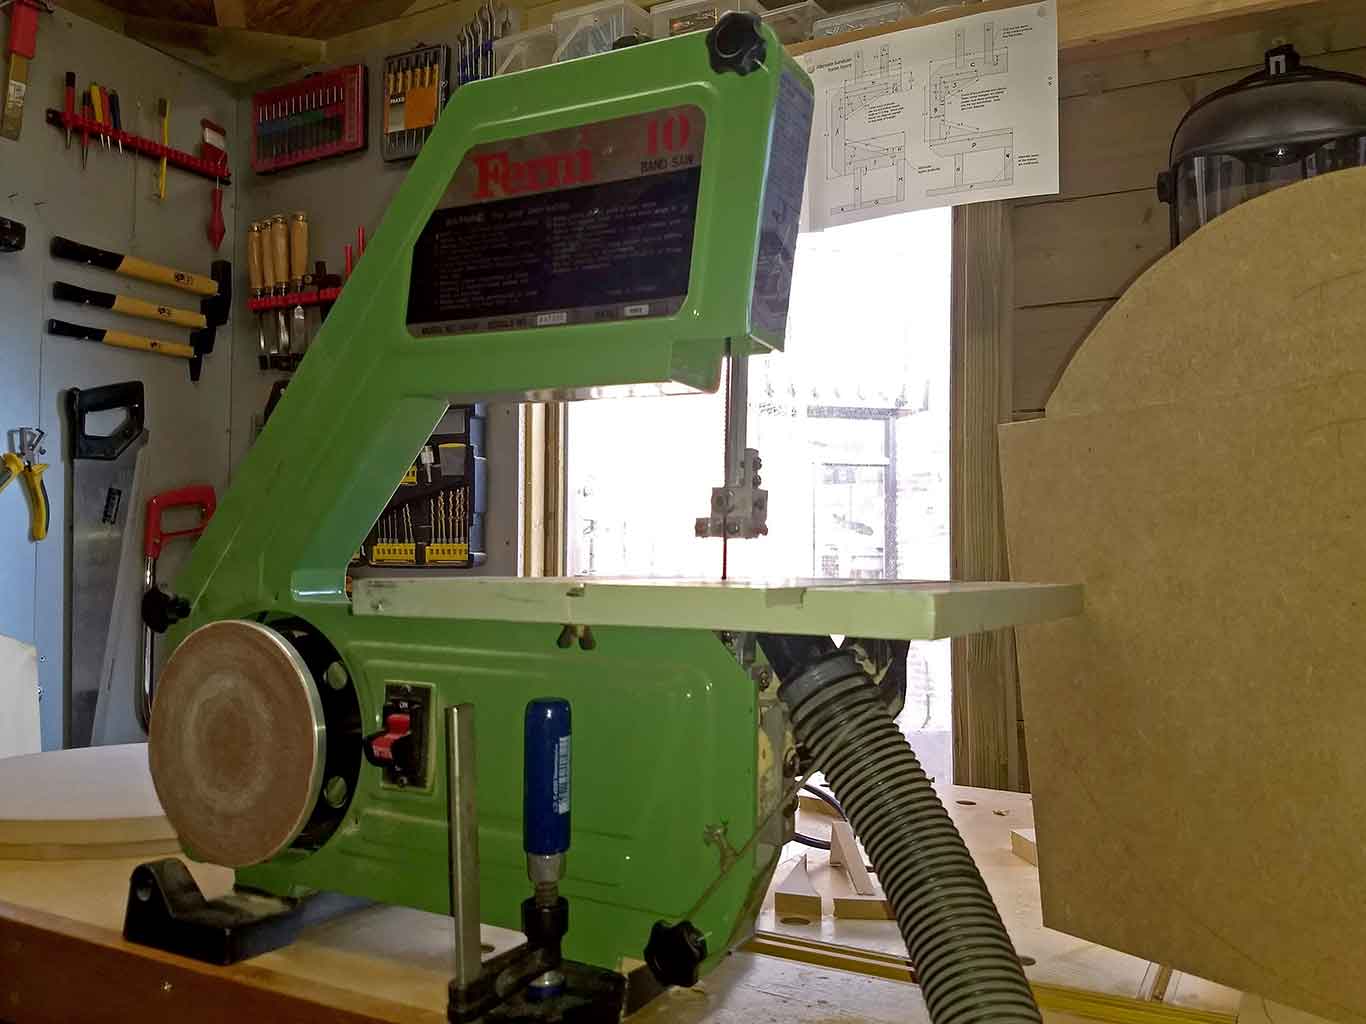
Surprise: I already own a bandsaw! :-)
It is one of those small 3-wheel machines, which Matthias doesn't like very much - and he is right, it is not very accurate and it breaks quite a few blades. But it only cost me 25 euros, and it did convince me that I like owning a (better) bandsaw, so it is the main reason I'm building a new one. So if you are not sure about building a bandsaw, get a cheap one like this and see if you like them.
And it comes in very handy during the build, as you will see further on.
I have hooked up a (very) makeshift shopvac attachment, which helps a bit but is of course not very effective. I'm planning to add a more permanent kind of shopvac attachment to the new machine, but that will have to wait until it is finished.
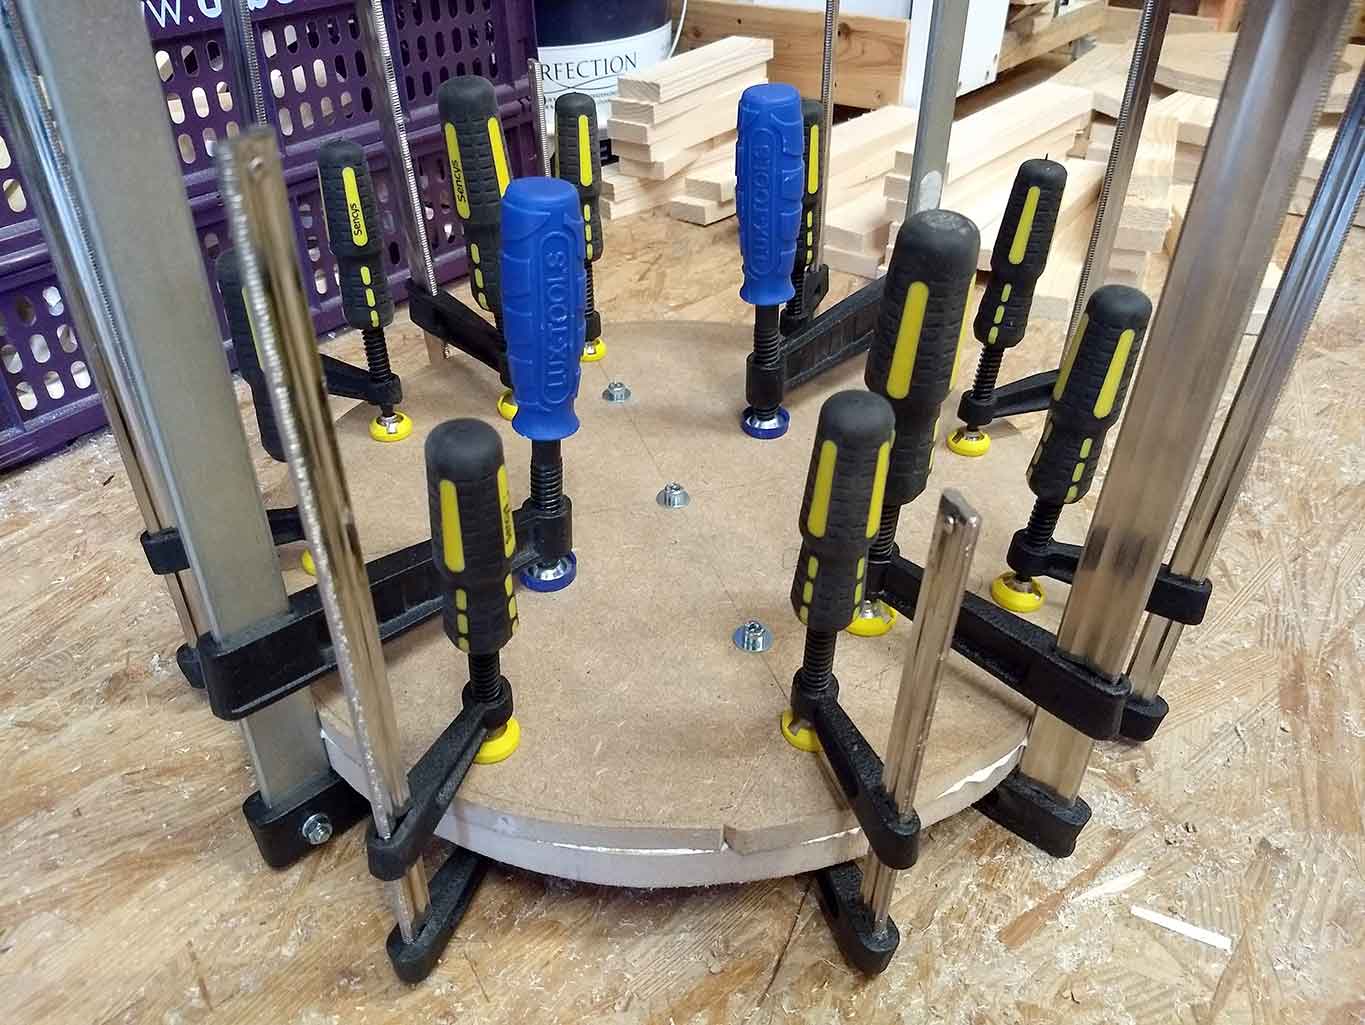
Glue up of one of the wheels, made out of leftover pieces of MDF, 18 and 12 mm sandwiched together.
I drilled 6 mm holes in the center and where the 4 bigger holes will be situated, and used some bolts for extra clamping power.
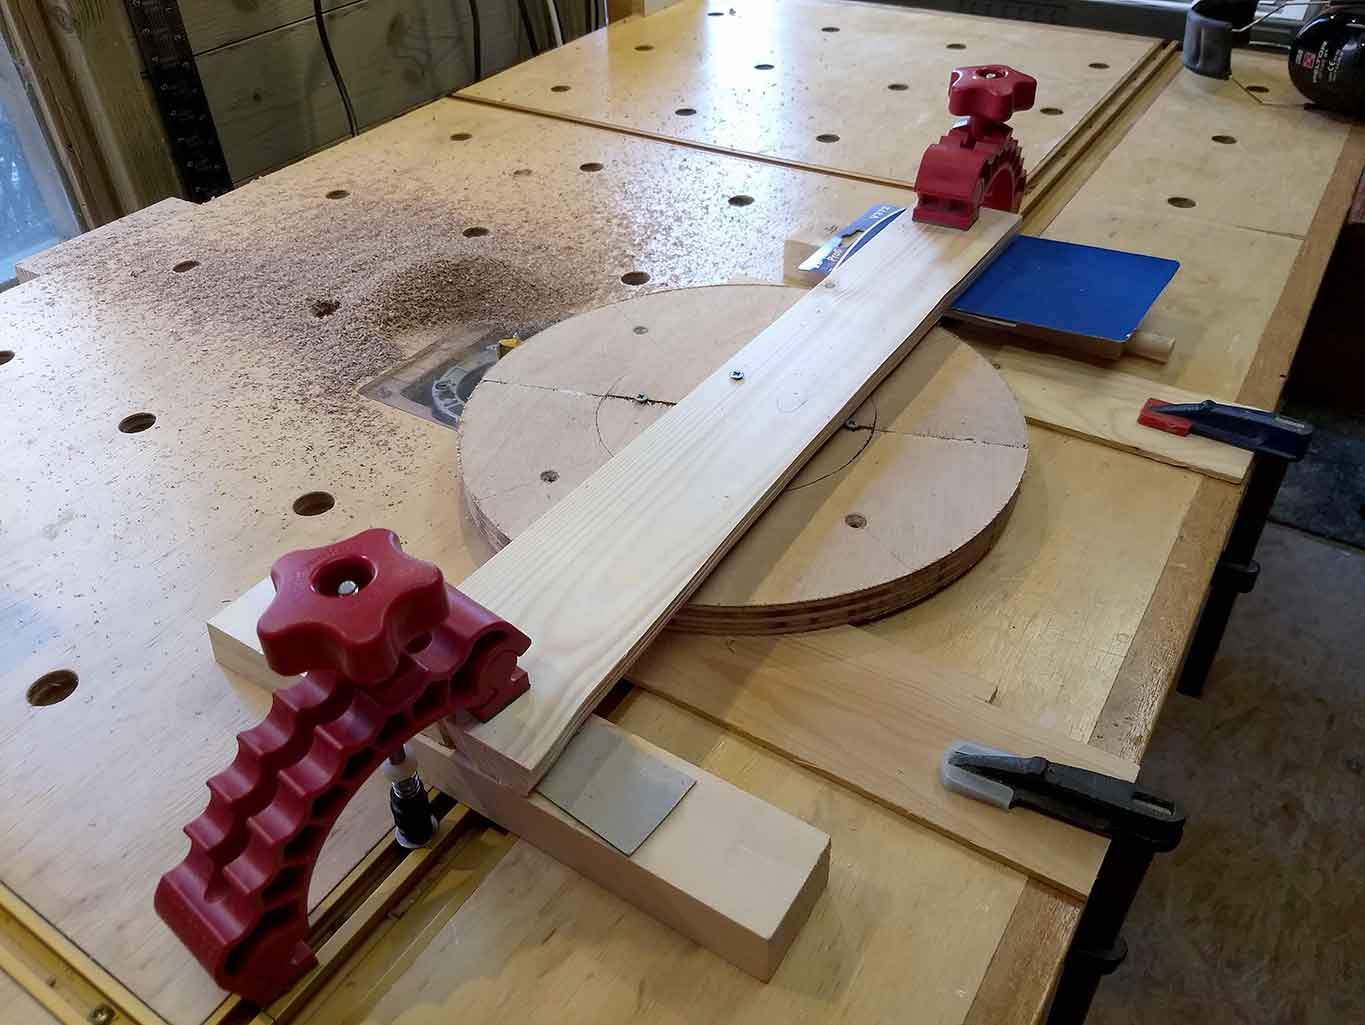
I made the temporary pulley from some pieces of leftover plywood, and cut it roughly to size on the bandsaw, and then rounded it more precisely on my workbench (which has a router built in).
2019-01-20
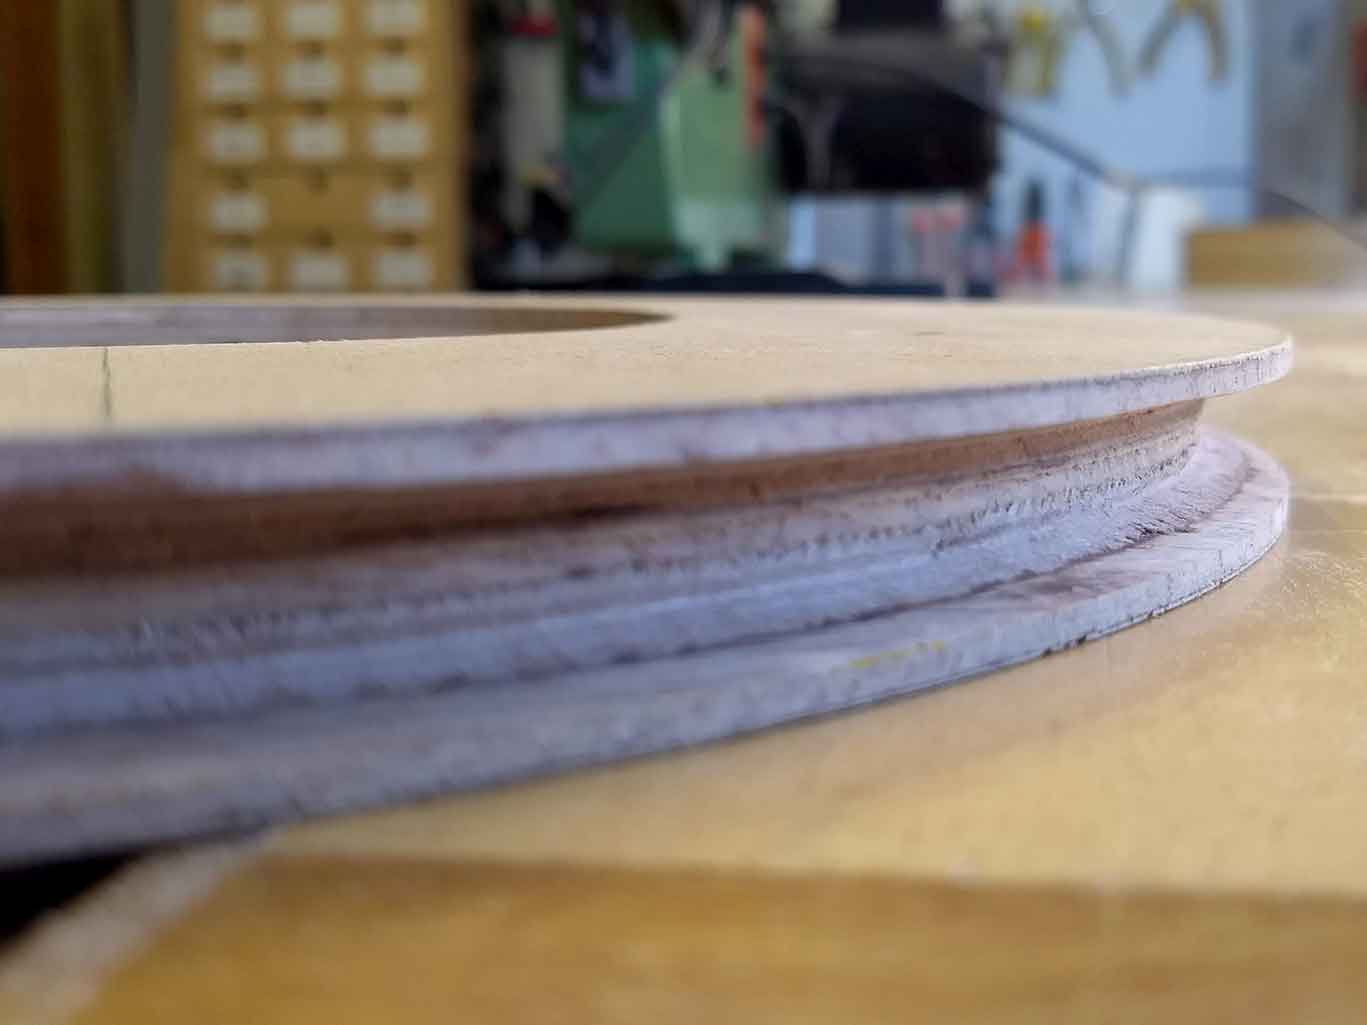
I made the groove on the tablesaw (blade set to 17 degrees for the V-belt), and it turned out very nice. So maybe I will use it as the permanent pulley later - if I can attach it precisely enough. [Note: I did use it as the permanent one]
2019-02-08
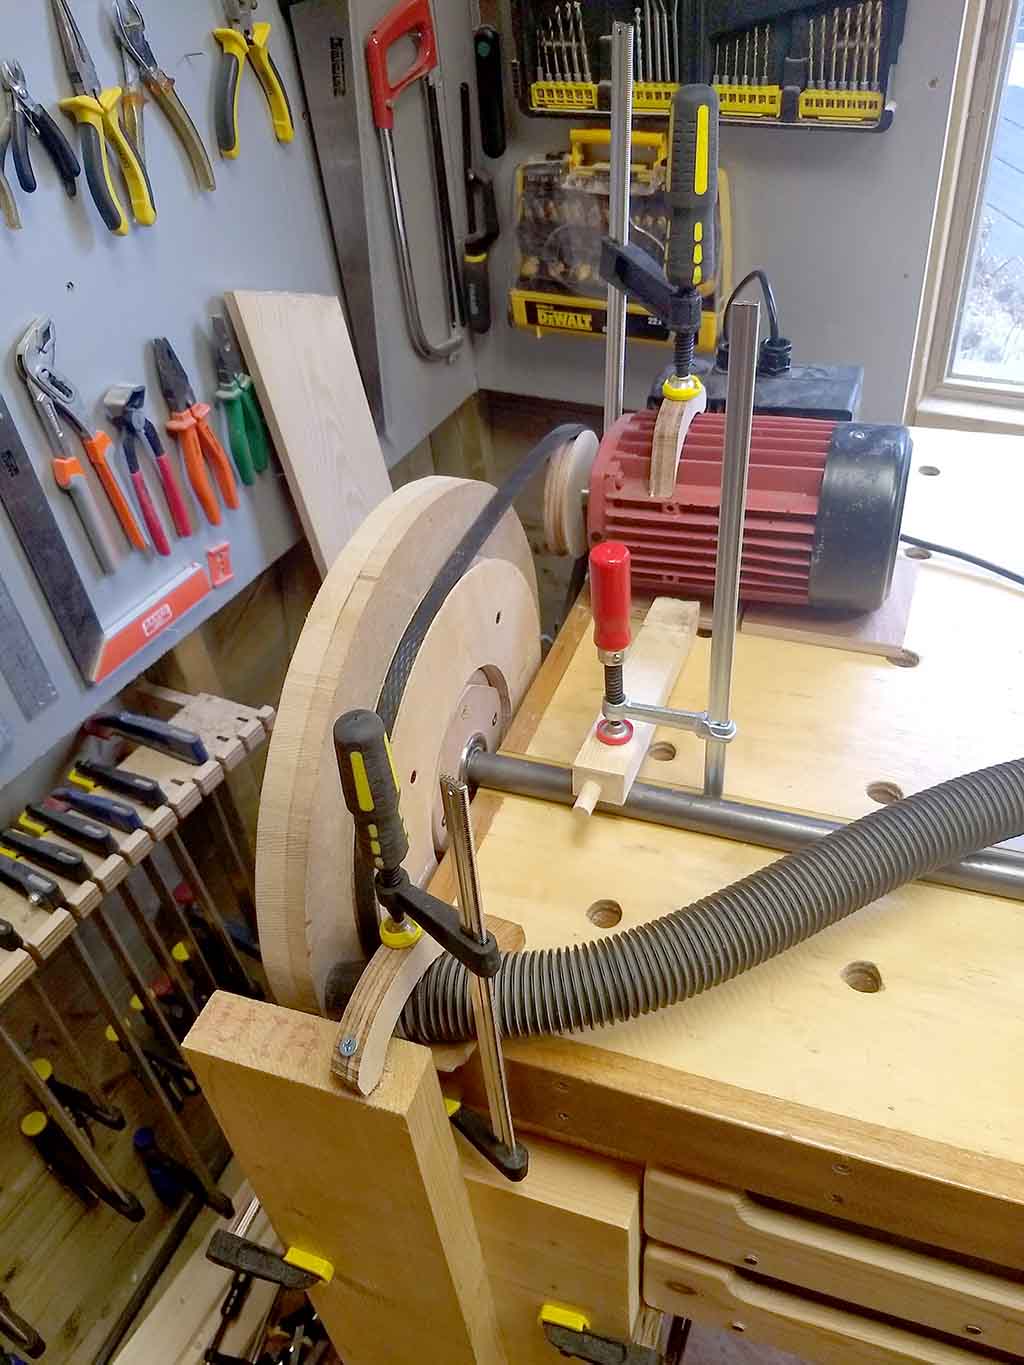
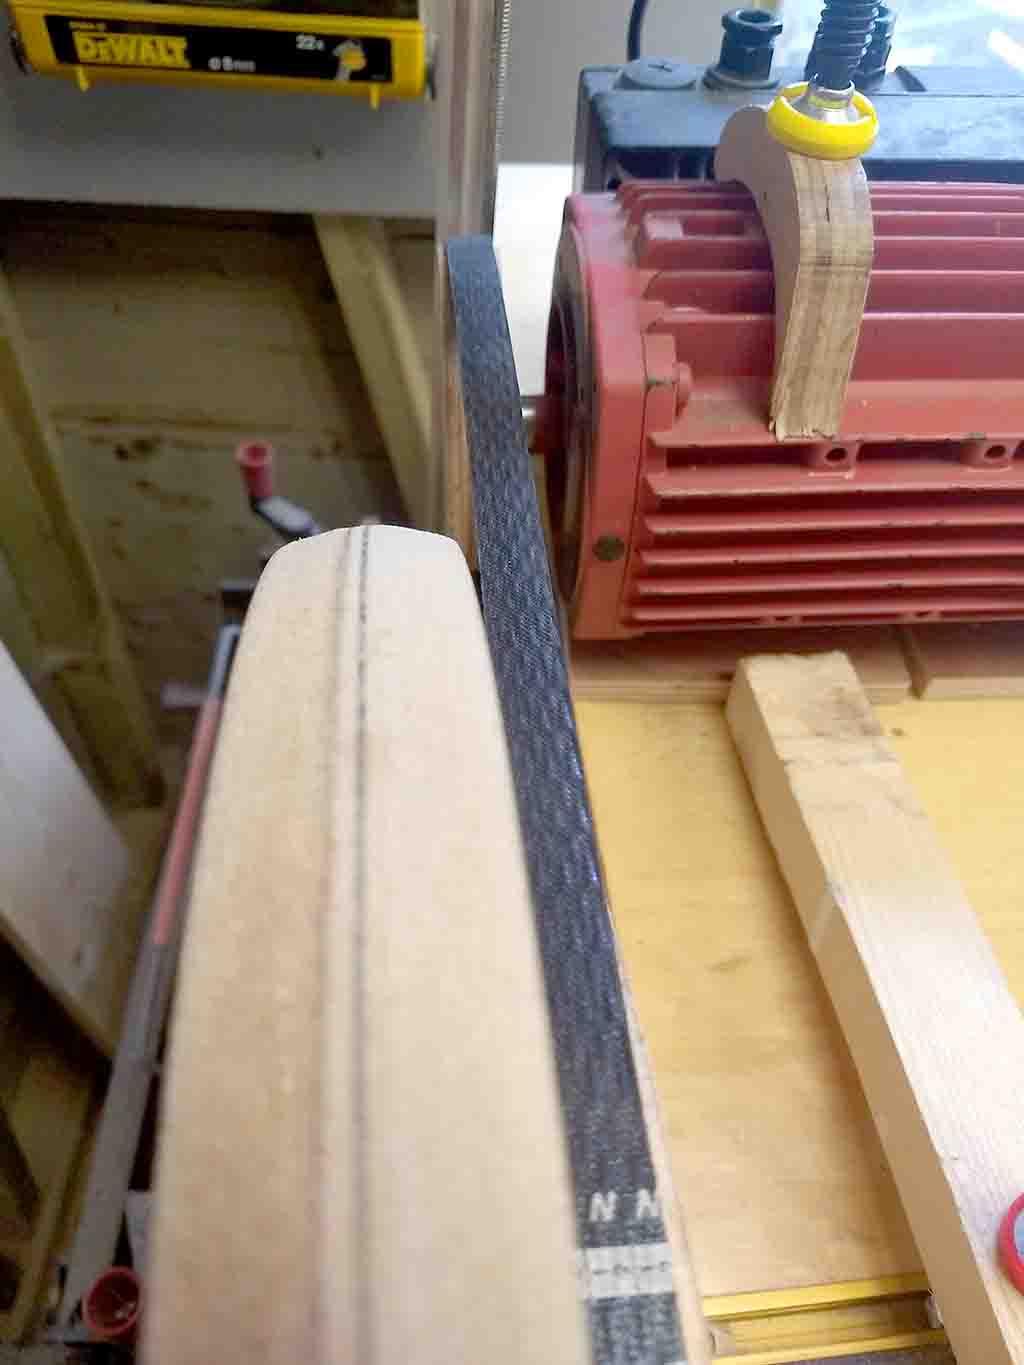
My setup for turning the wheel, and putting a crown on it. The dust collection is very much needed for MDF.
2019-02-17
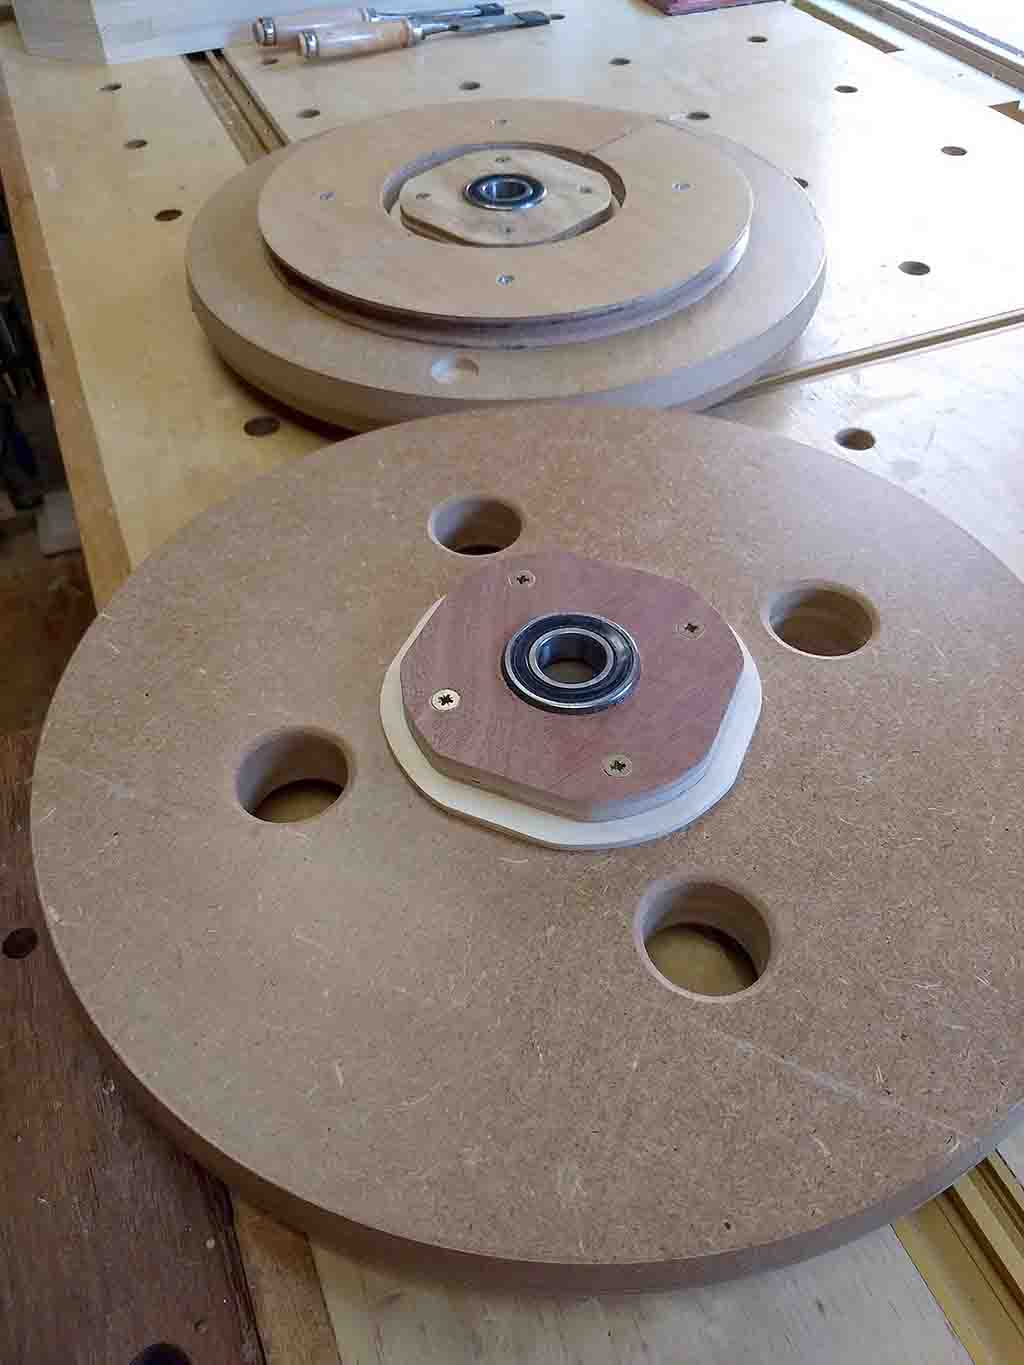
Balancing the wheel was so simple it was almost disappointing. I just had to drill one small hole in the bottom wheel, the top one did not need any adjustment. So making the wheels out of MDF turned out to be a good idea; the plywood pulley was probably the only cause for imbalance.
As you can see I opted to glue and screw the flanges to the wheels. That was a lot easier than trying to just glue them on while getting the alignment right at the same time.
Small tip: You may want to make the holes in the wheels a bit bigger than the 4 cm indicated by the plans. I had a hard time getting my clamps to fit through them.
2019-02-22
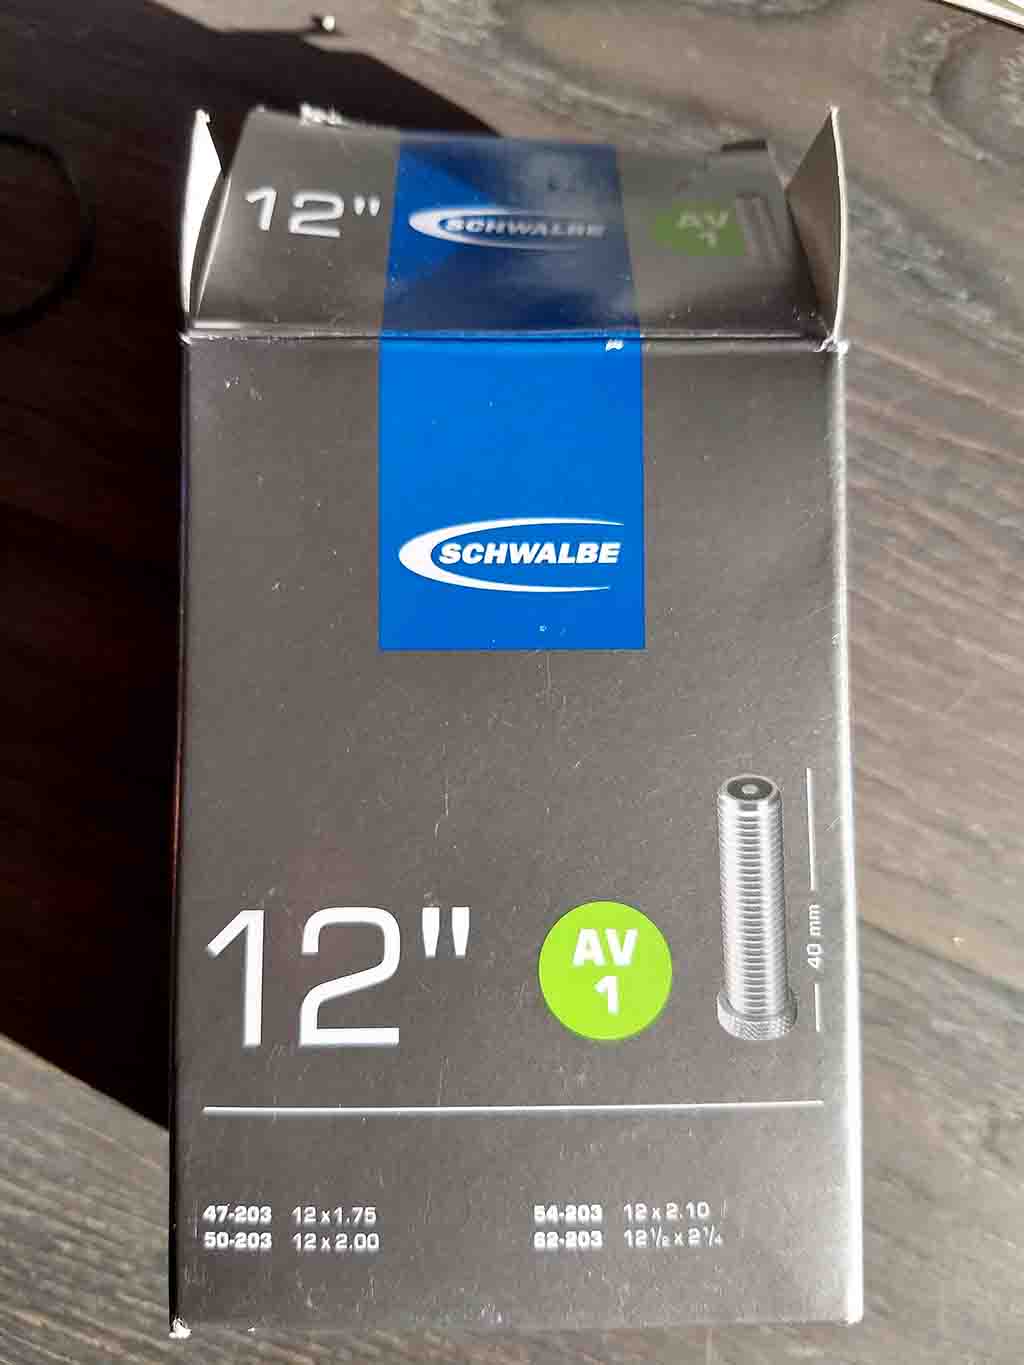
The local bicycle shop only had one 14 inch tire in stock, so I picked up a 12 inch one as well, thinking I'd probably be able to get it on. Turns out it fits even better than the 14 inch; the 14 inch is a much looser fit so the sides are more likely to catch sawdust. It was a bit of a struggle to get it on though, but manageble. So I'd recommend using 12 inch tires.
2019-06-09
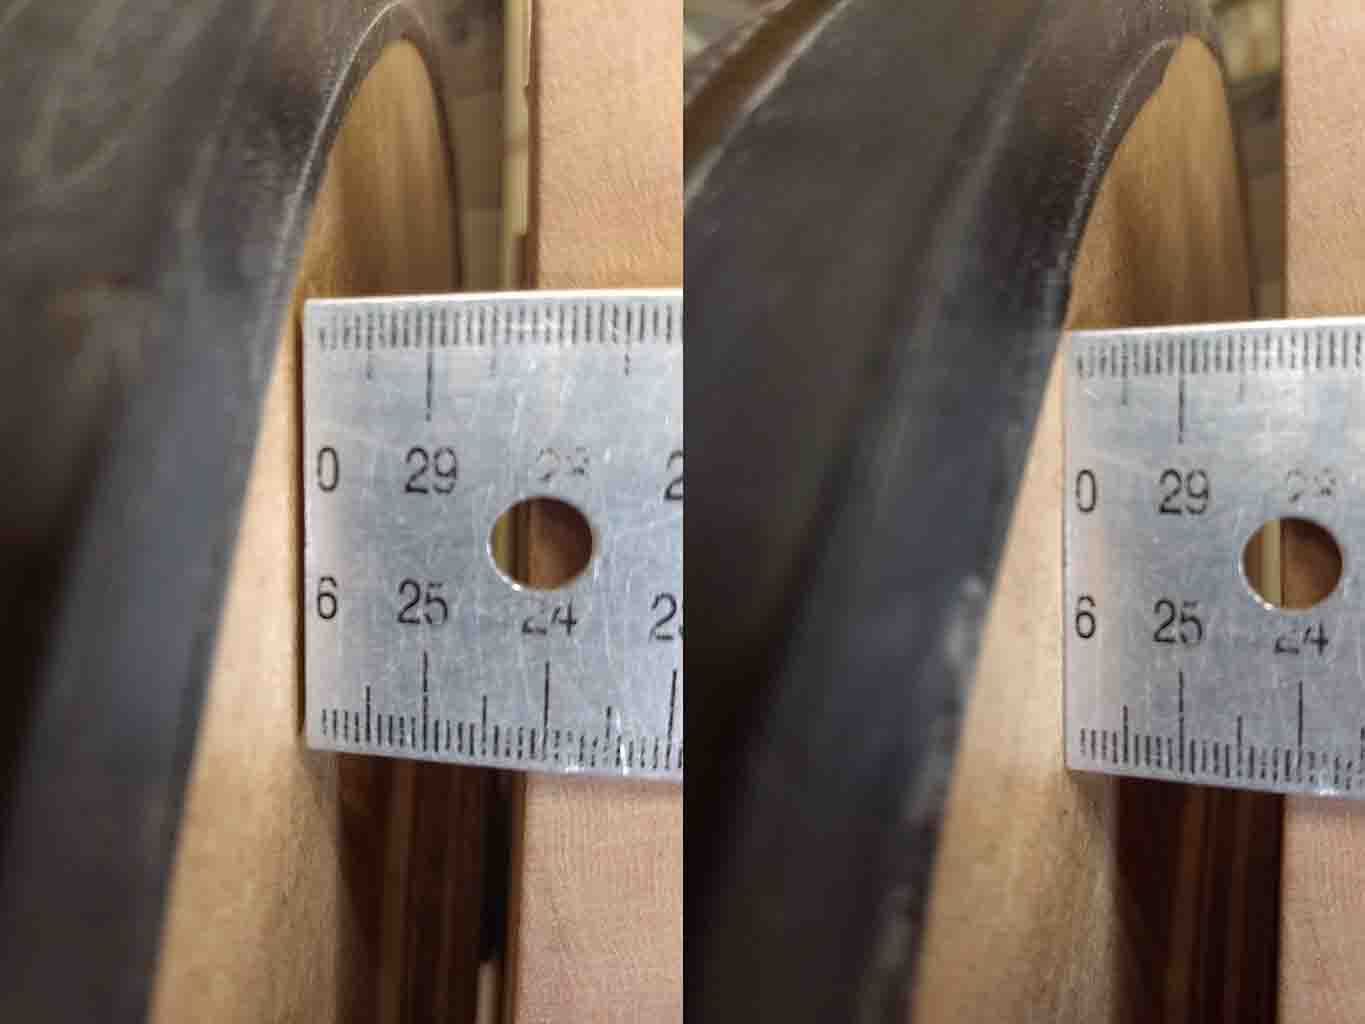
The top wheel turns out to have a slight wobble, which I missed earlier (or chose not to see, not sure...). Nothing serious, but it does cause the whole machine to wobble a little bit, which is not ideal. So I'll probably make a new wheel later.
The ruler is in centimeters, so the gap is slightly more than 1 millimeter.