Click on the images to enlarge.
One small modification to the original plans: The upper wheel mount will be like the one on Matthias'
big bandsaw, so the front 3 pieces will be made of hardwood and part of the frame (instead of the 2 L-shaped pieces of hardwood). This seemed like a more elegant and sturdy option, so I'll go for that. [Note: I changed this to solid blocks of hardwood later - and then had to modify that to get it on straight...]
And I plan to attach the bottom horizontal rails
after I drill the holes for the lower wheel mount; I do hope I will remember that during the glue up [Note: I did remember!]
2019-01-13
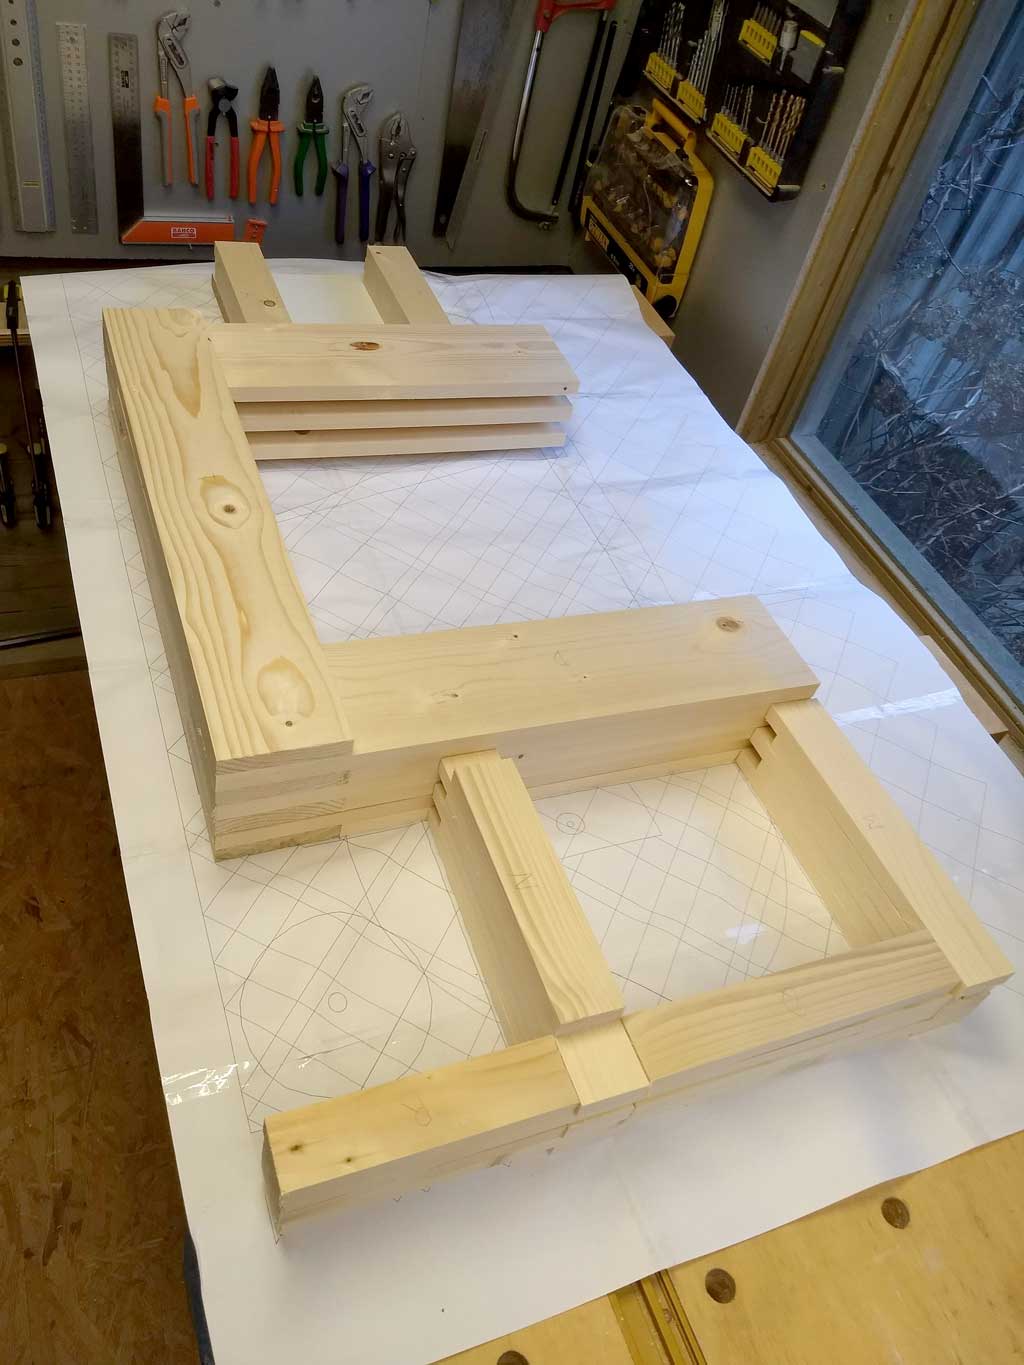
The first fitting of the frame, out of 18mm spruce, laid out on the 1-to-1 printout. The 1-to-1 printout of the frame is nice to have, but it is not necessary; I found some of the supplied "exploded views" of the frame more helpful during the layout.

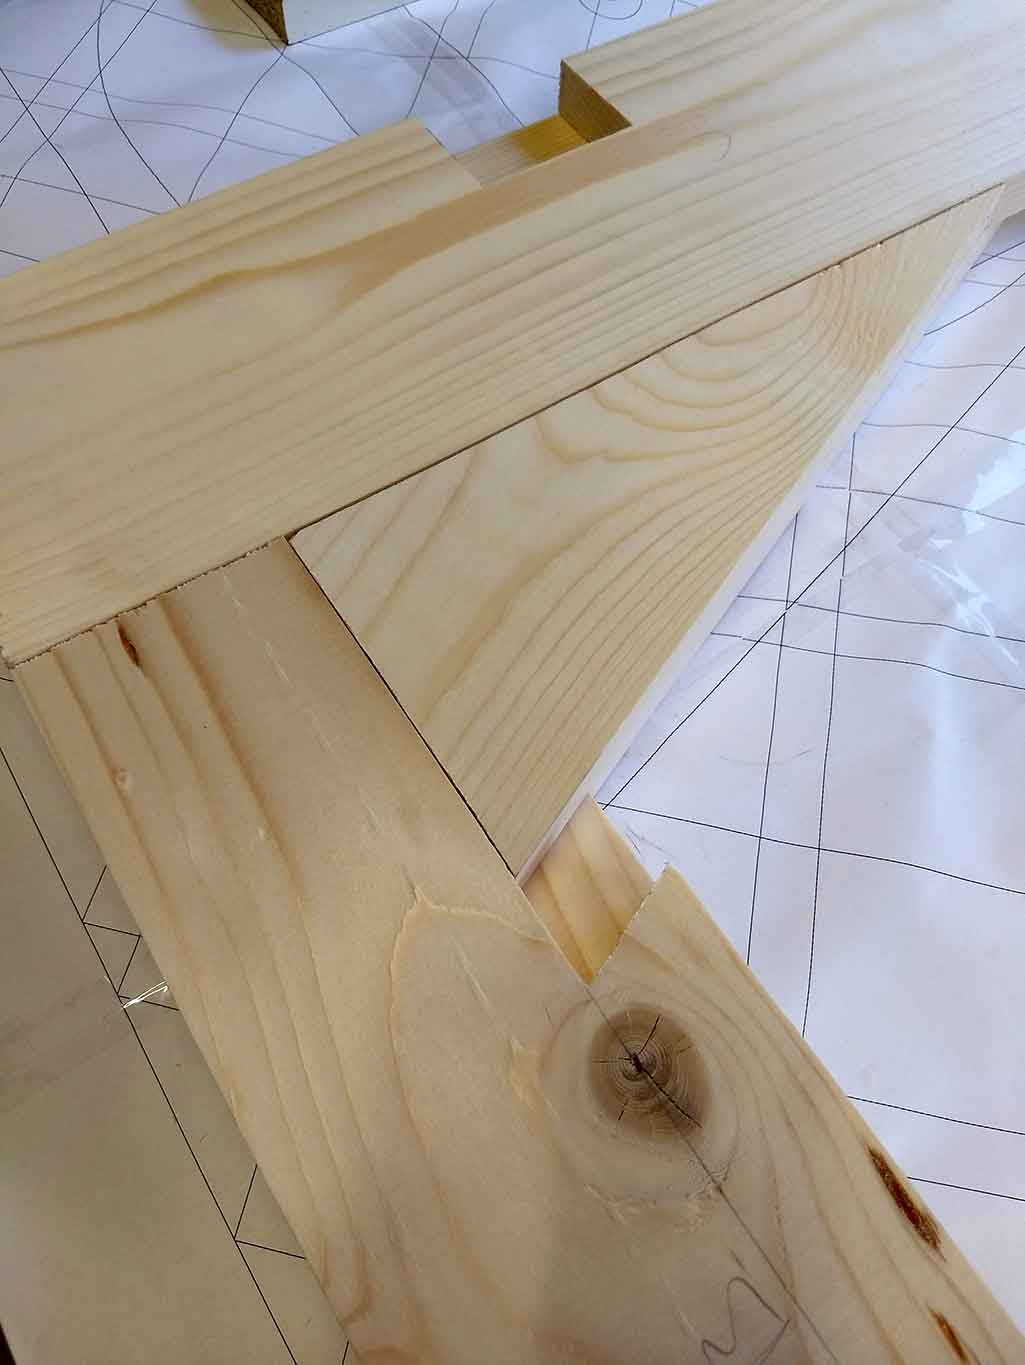
A detail of the first fitting.
As you can see, some of the boards are warped (and some others have cracks in them) so I need to replace all those. Lesson learned: pay close attention when buying wood.
2019-01-18
Maybe I should have used the 1-to-1 printout after all...
2019-01-20
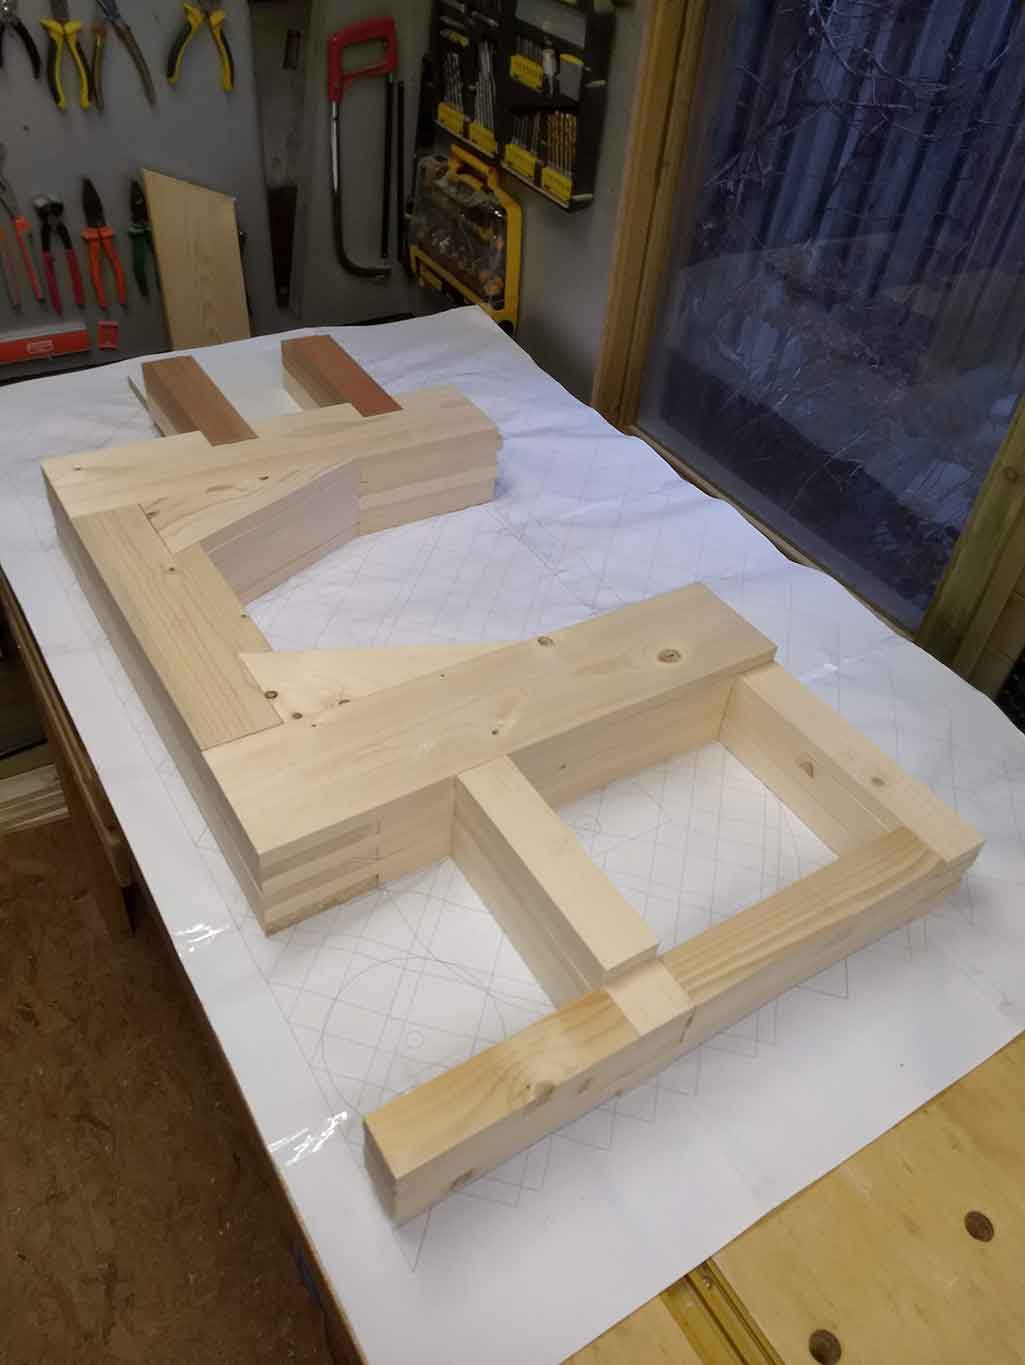
I had hoped the wood would all be close to 18 mm, but that turned out to be too optimistic. The thickness varied between 17.5 and 18.7 mm, so I bought a jointer/planer and made everything 17.5 mm. I have never owned (or even used) one before, so I had no idea what to go for - or how much to spend. In the end I went for the cheapest 204 mm wide machine I could find, a Güde GADH 200, which is very similar to the one reviewed in this video. That one seemed to do the job I had in mind, and I wasn't disappointed, it works just fine.
So here is the second fitting of the frame, with almost all pieces cut and planed to fit. Some tinkering still required but almost ready for glue.
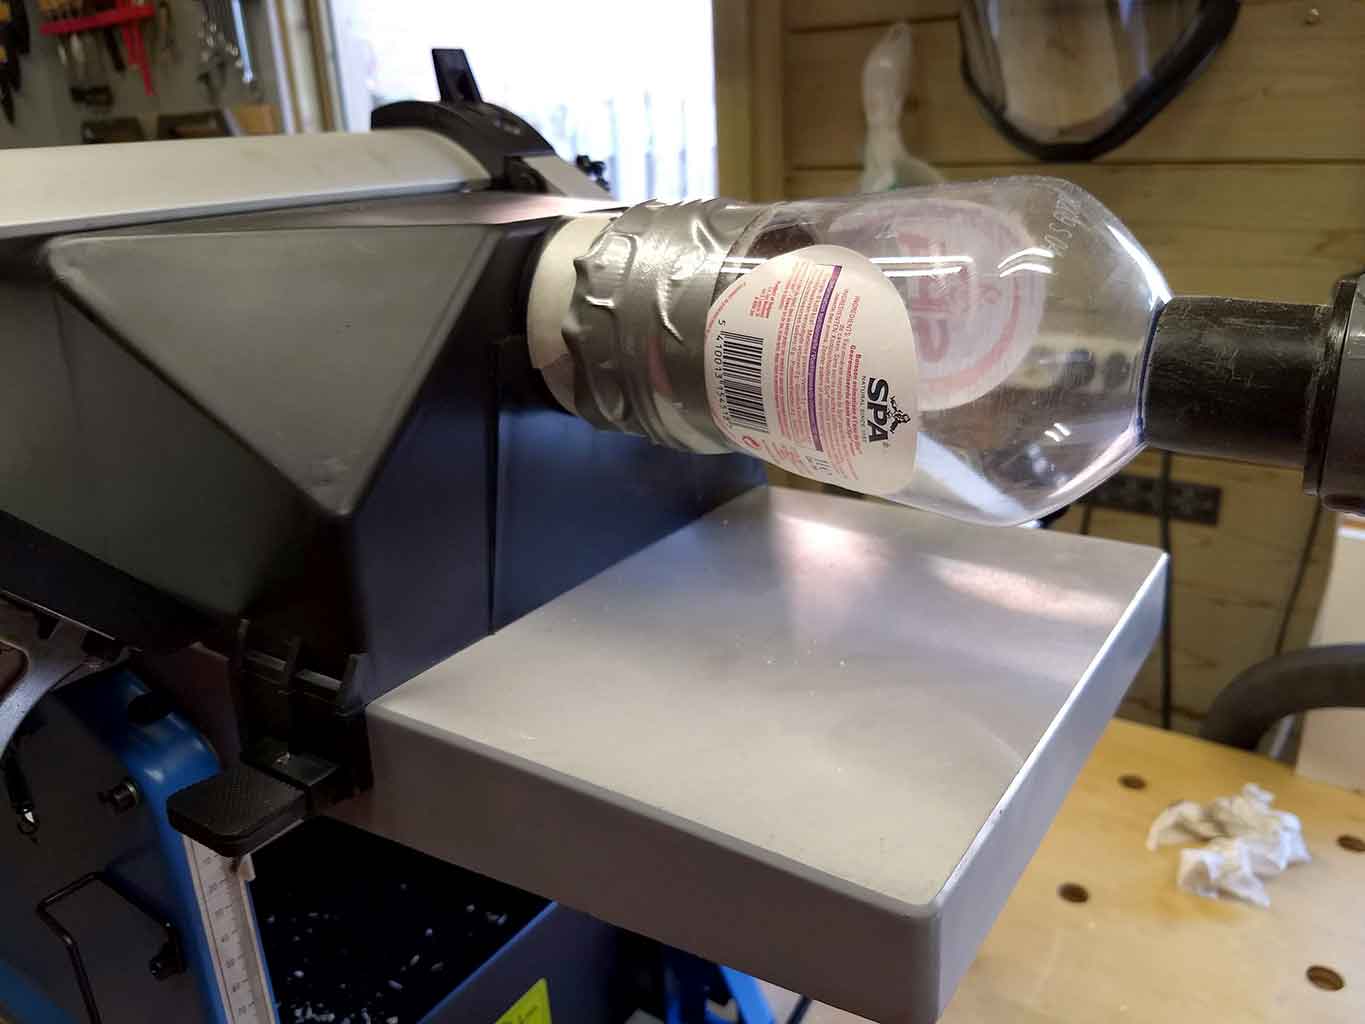
A makeshift dust extraction adapter - the exhaust of the jointer/planer is 60 mm and my shop-vac is 32 mm. Try finding an adapter for that on a Sunday... So I cut a plastic soda bottle in half - with some duct tape and a hose clamp that all fits nicely; and as a bonus you can see the wood shavings flying inside, which is kind of cool - maybe I'll just keep it like this :-)
2019-01-26
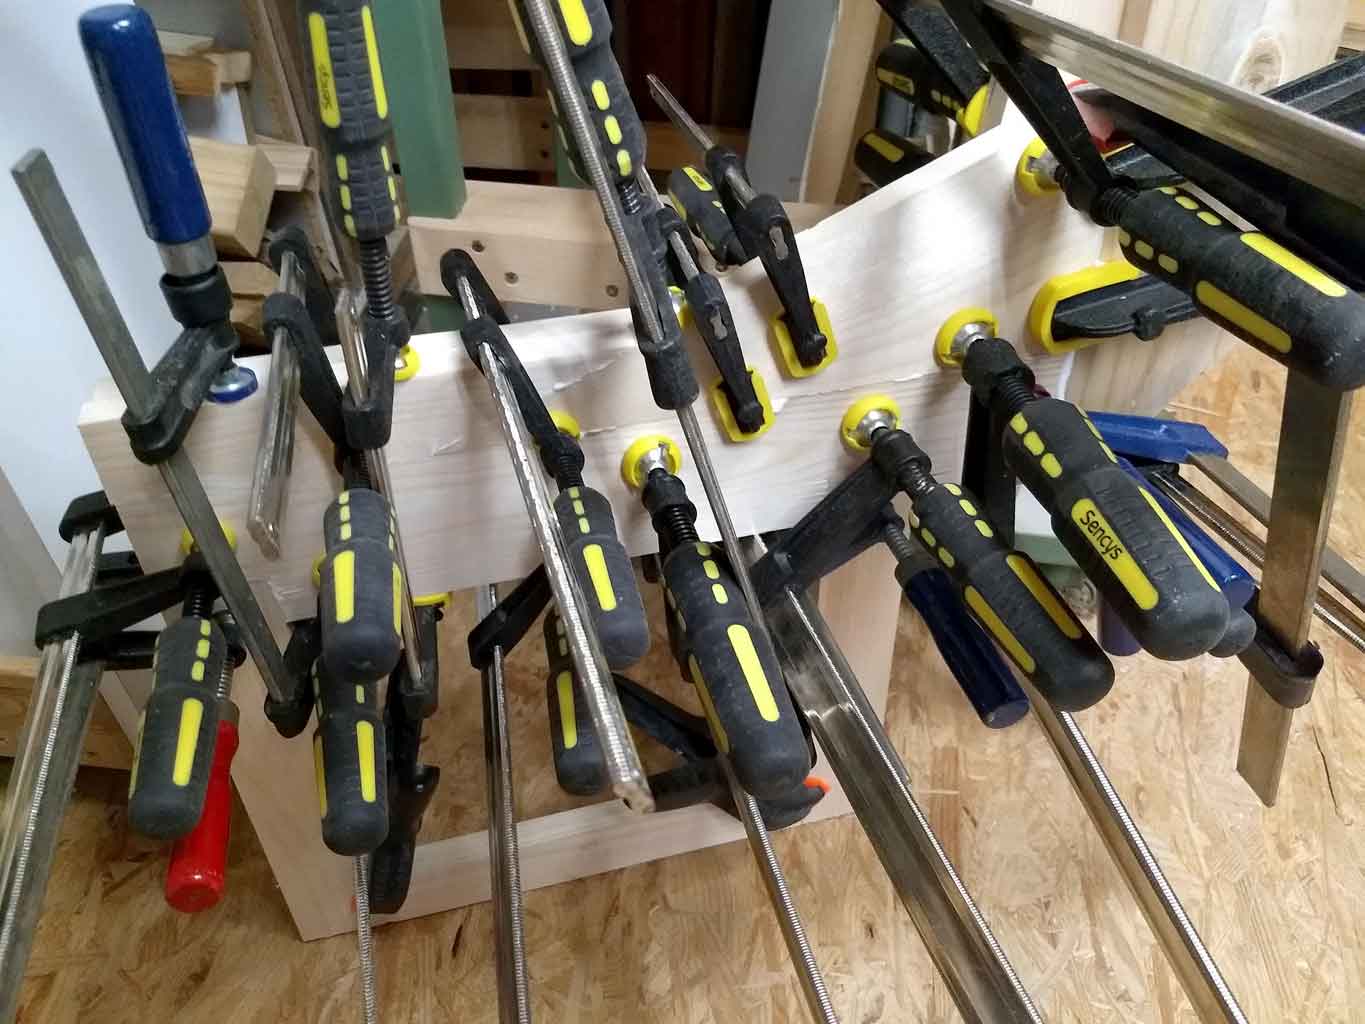
Clamps anyone?
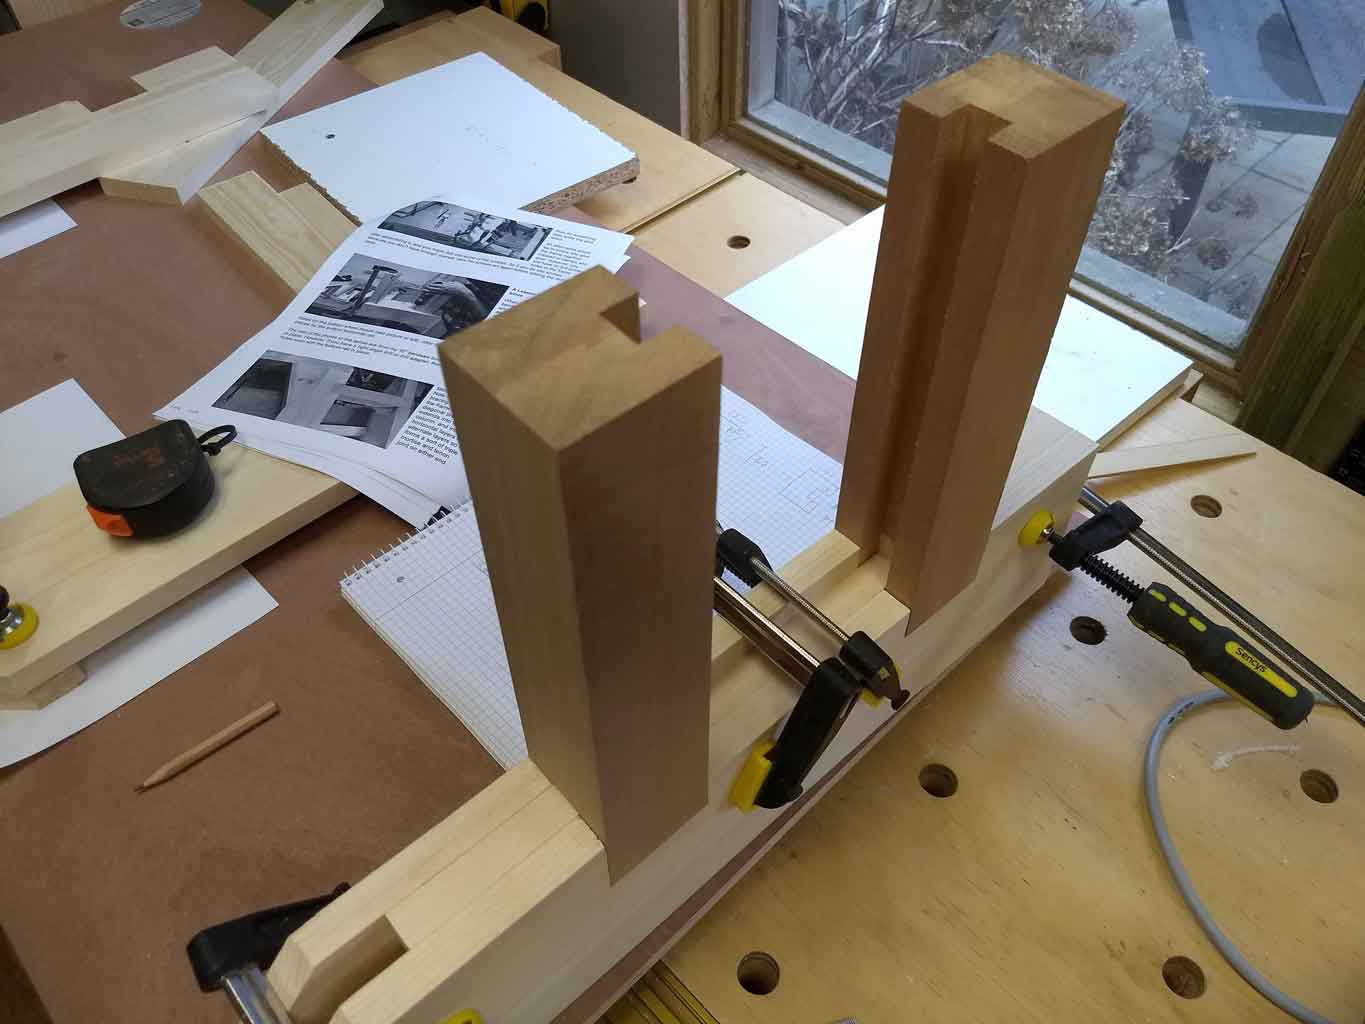
After 2 false starts with the L brackets that hold the upper wheel mount, this is attempt number 3. My first idea was to construct the brackets from 3 strips of hardwood, but the first one I measured wrong, and the second one I botched up during planing so it would never glue together properly. So I figured, why not make it out of a solid piece of hardwood; should be even stronger, and turned out be simpler to make as well.
One problem however: I managed to put one of the brackets into the frame crooked; it tilts backwards about 3 mm... Other than that it is perfect :-) But of course that has to be fixed, otherwise the upper wheel mount will never slide properly. Not sure yet how to do that exactly; most of the bracket will have to be replaced I'm afraid.
2019-02-08
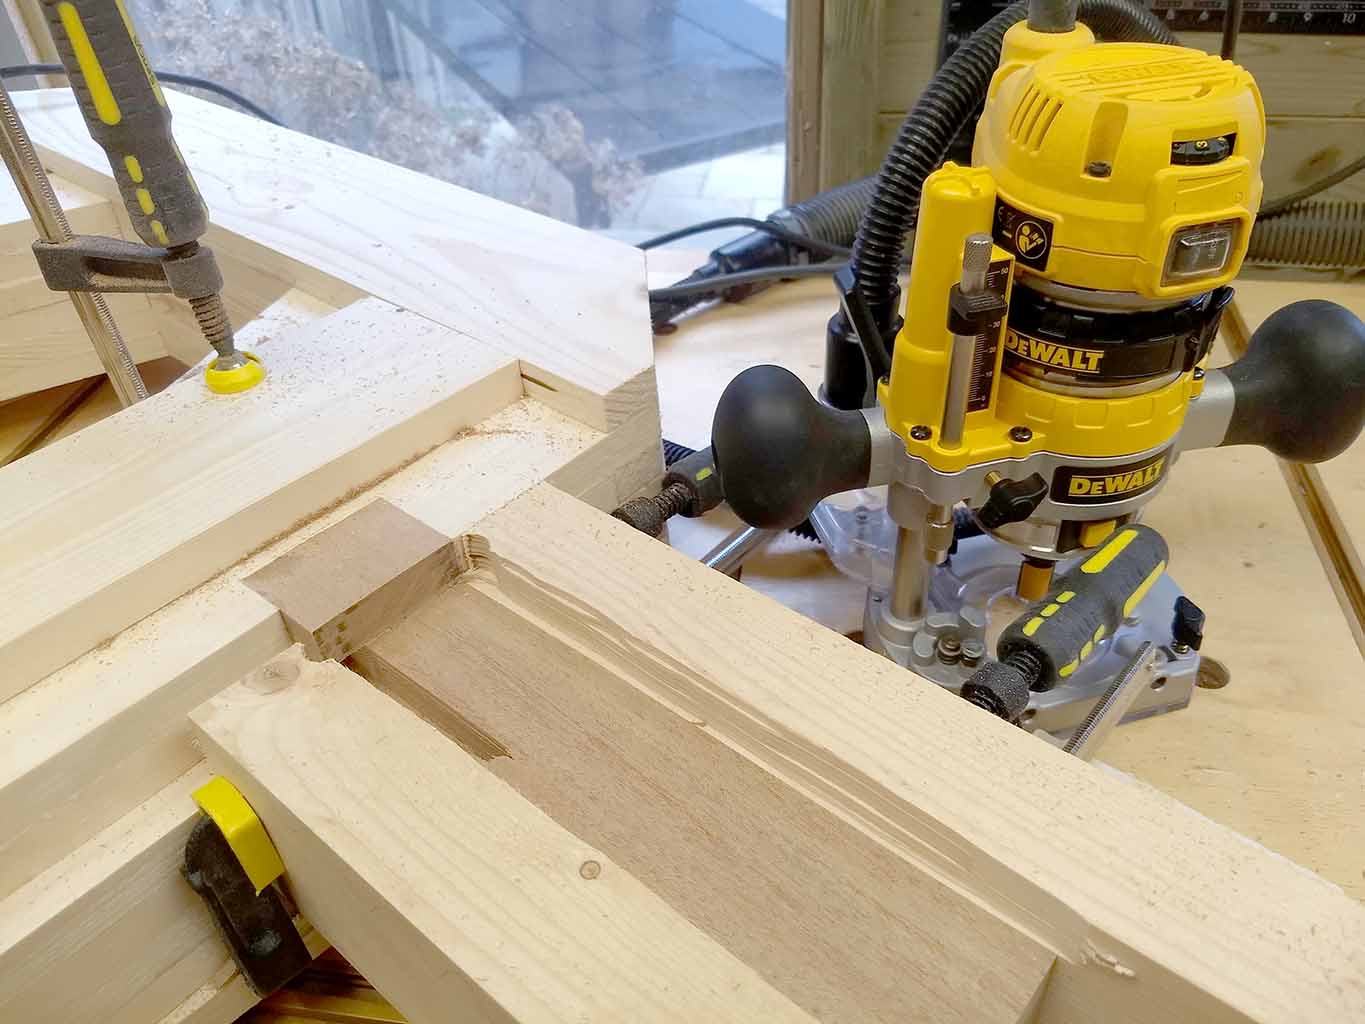
So this is my solution for the tilting bracket. I routed off part of the bracket and the insert, this time making sure to get it flush with the frame, using some pieces of wood clamped to the bracket as a guide. Then I glued on a thin layer onto the insert and routed that flush. Then I glued and screwed on a new front layer (well, a leftover from attempt #2 actually...). It would have been a lot easier to have glued the bracket on straight in the first place... :-)
2019-03-01
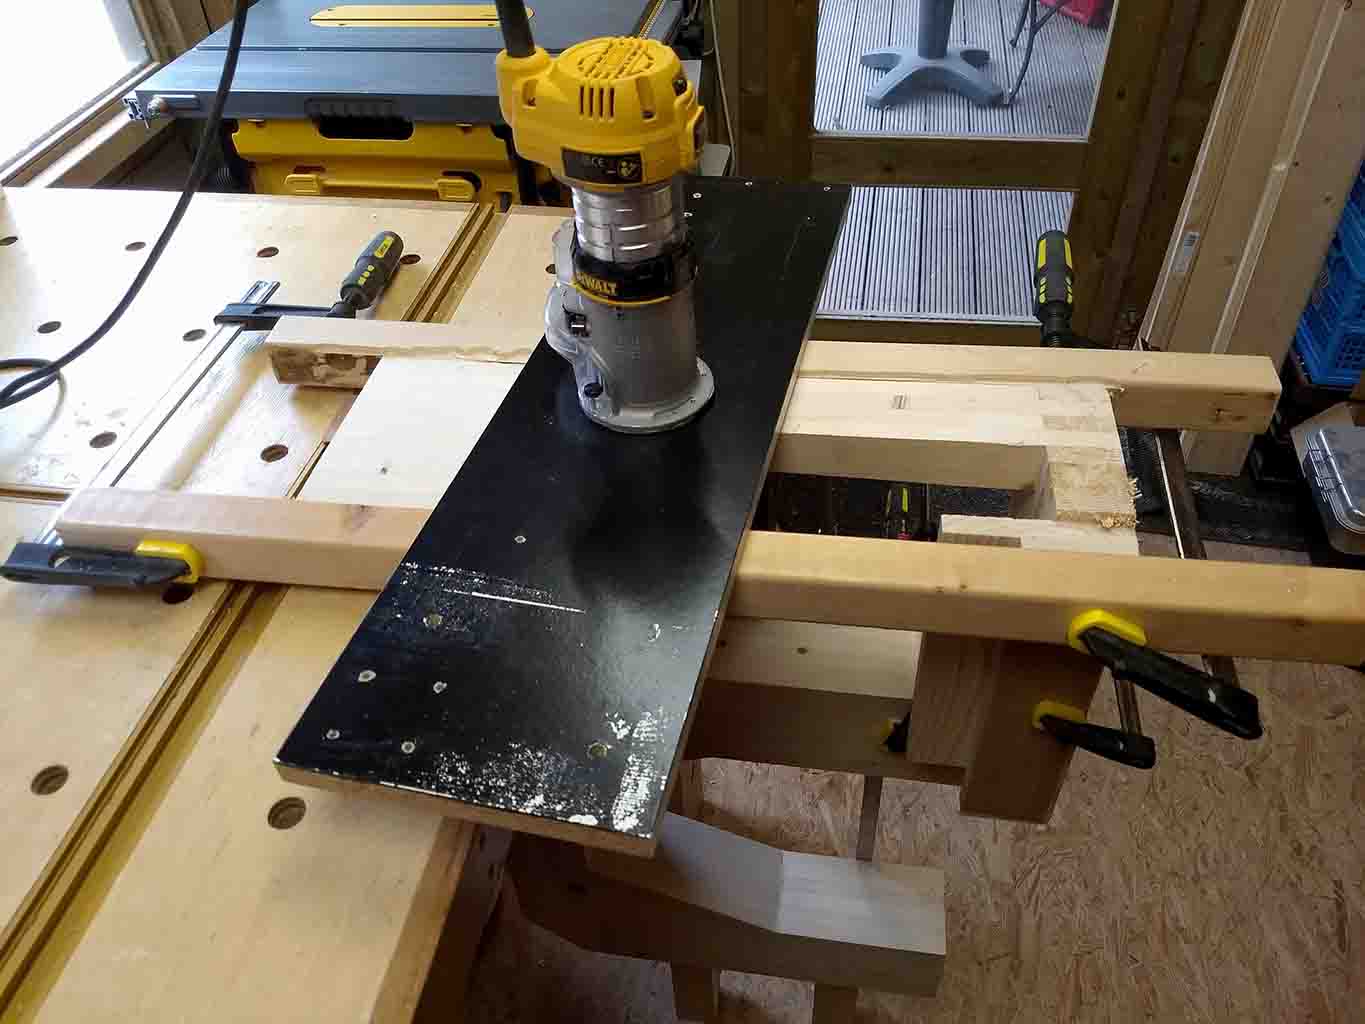
The bottom of the frame was a bit warped (I should have paid more attention to that during glue up) so that needed to be fixed. This is my router setup to smooth it down, which worked out fine.